Day 19: Kale & Sundried Tomato Pizza AND Sherried Mushroom Bruschetta–“Cooking ‘The Blooming Platter Cookbook’ Julie & Julia Style”

Kale Pizza
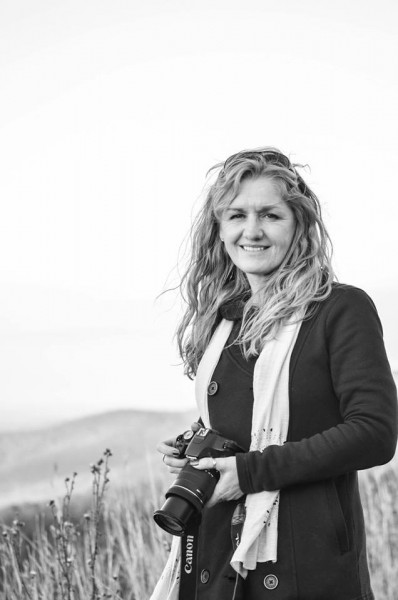
(A sequential installment from Kim Hastings, my photographer friend and, along with her vet husband, owner of Independence Veterinary Hospital, who decided on her own to cook her way through The Blooming Platter Cookbook: A Harvest of Seasonal Vegan Recipes Julie & Julia Style for her omnivorous family as a strategy for more healthy eating.

Today I have a lot to write about, so grab a cup of coffee and get comfy. Tuesday night, Betsy DiJulio, the author of The Blooming Platter Cookbook, came to my house to cook with me!! So excited!!

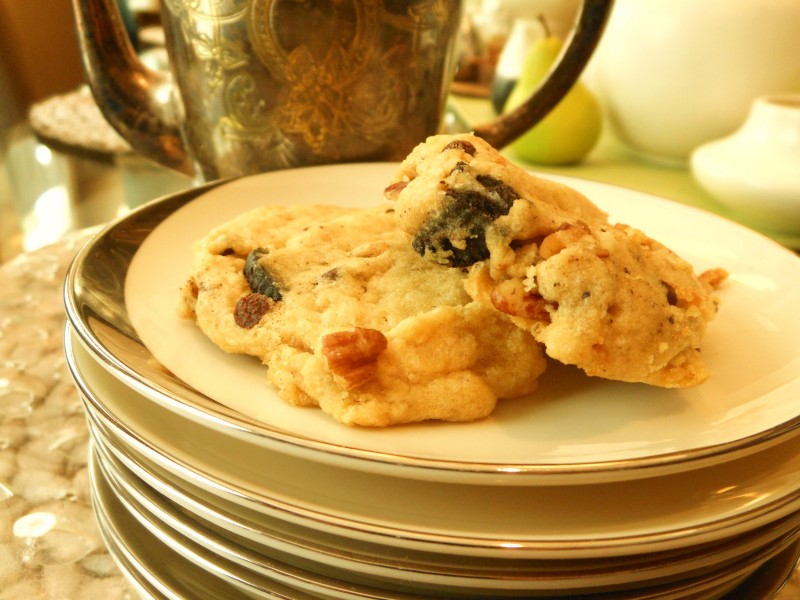
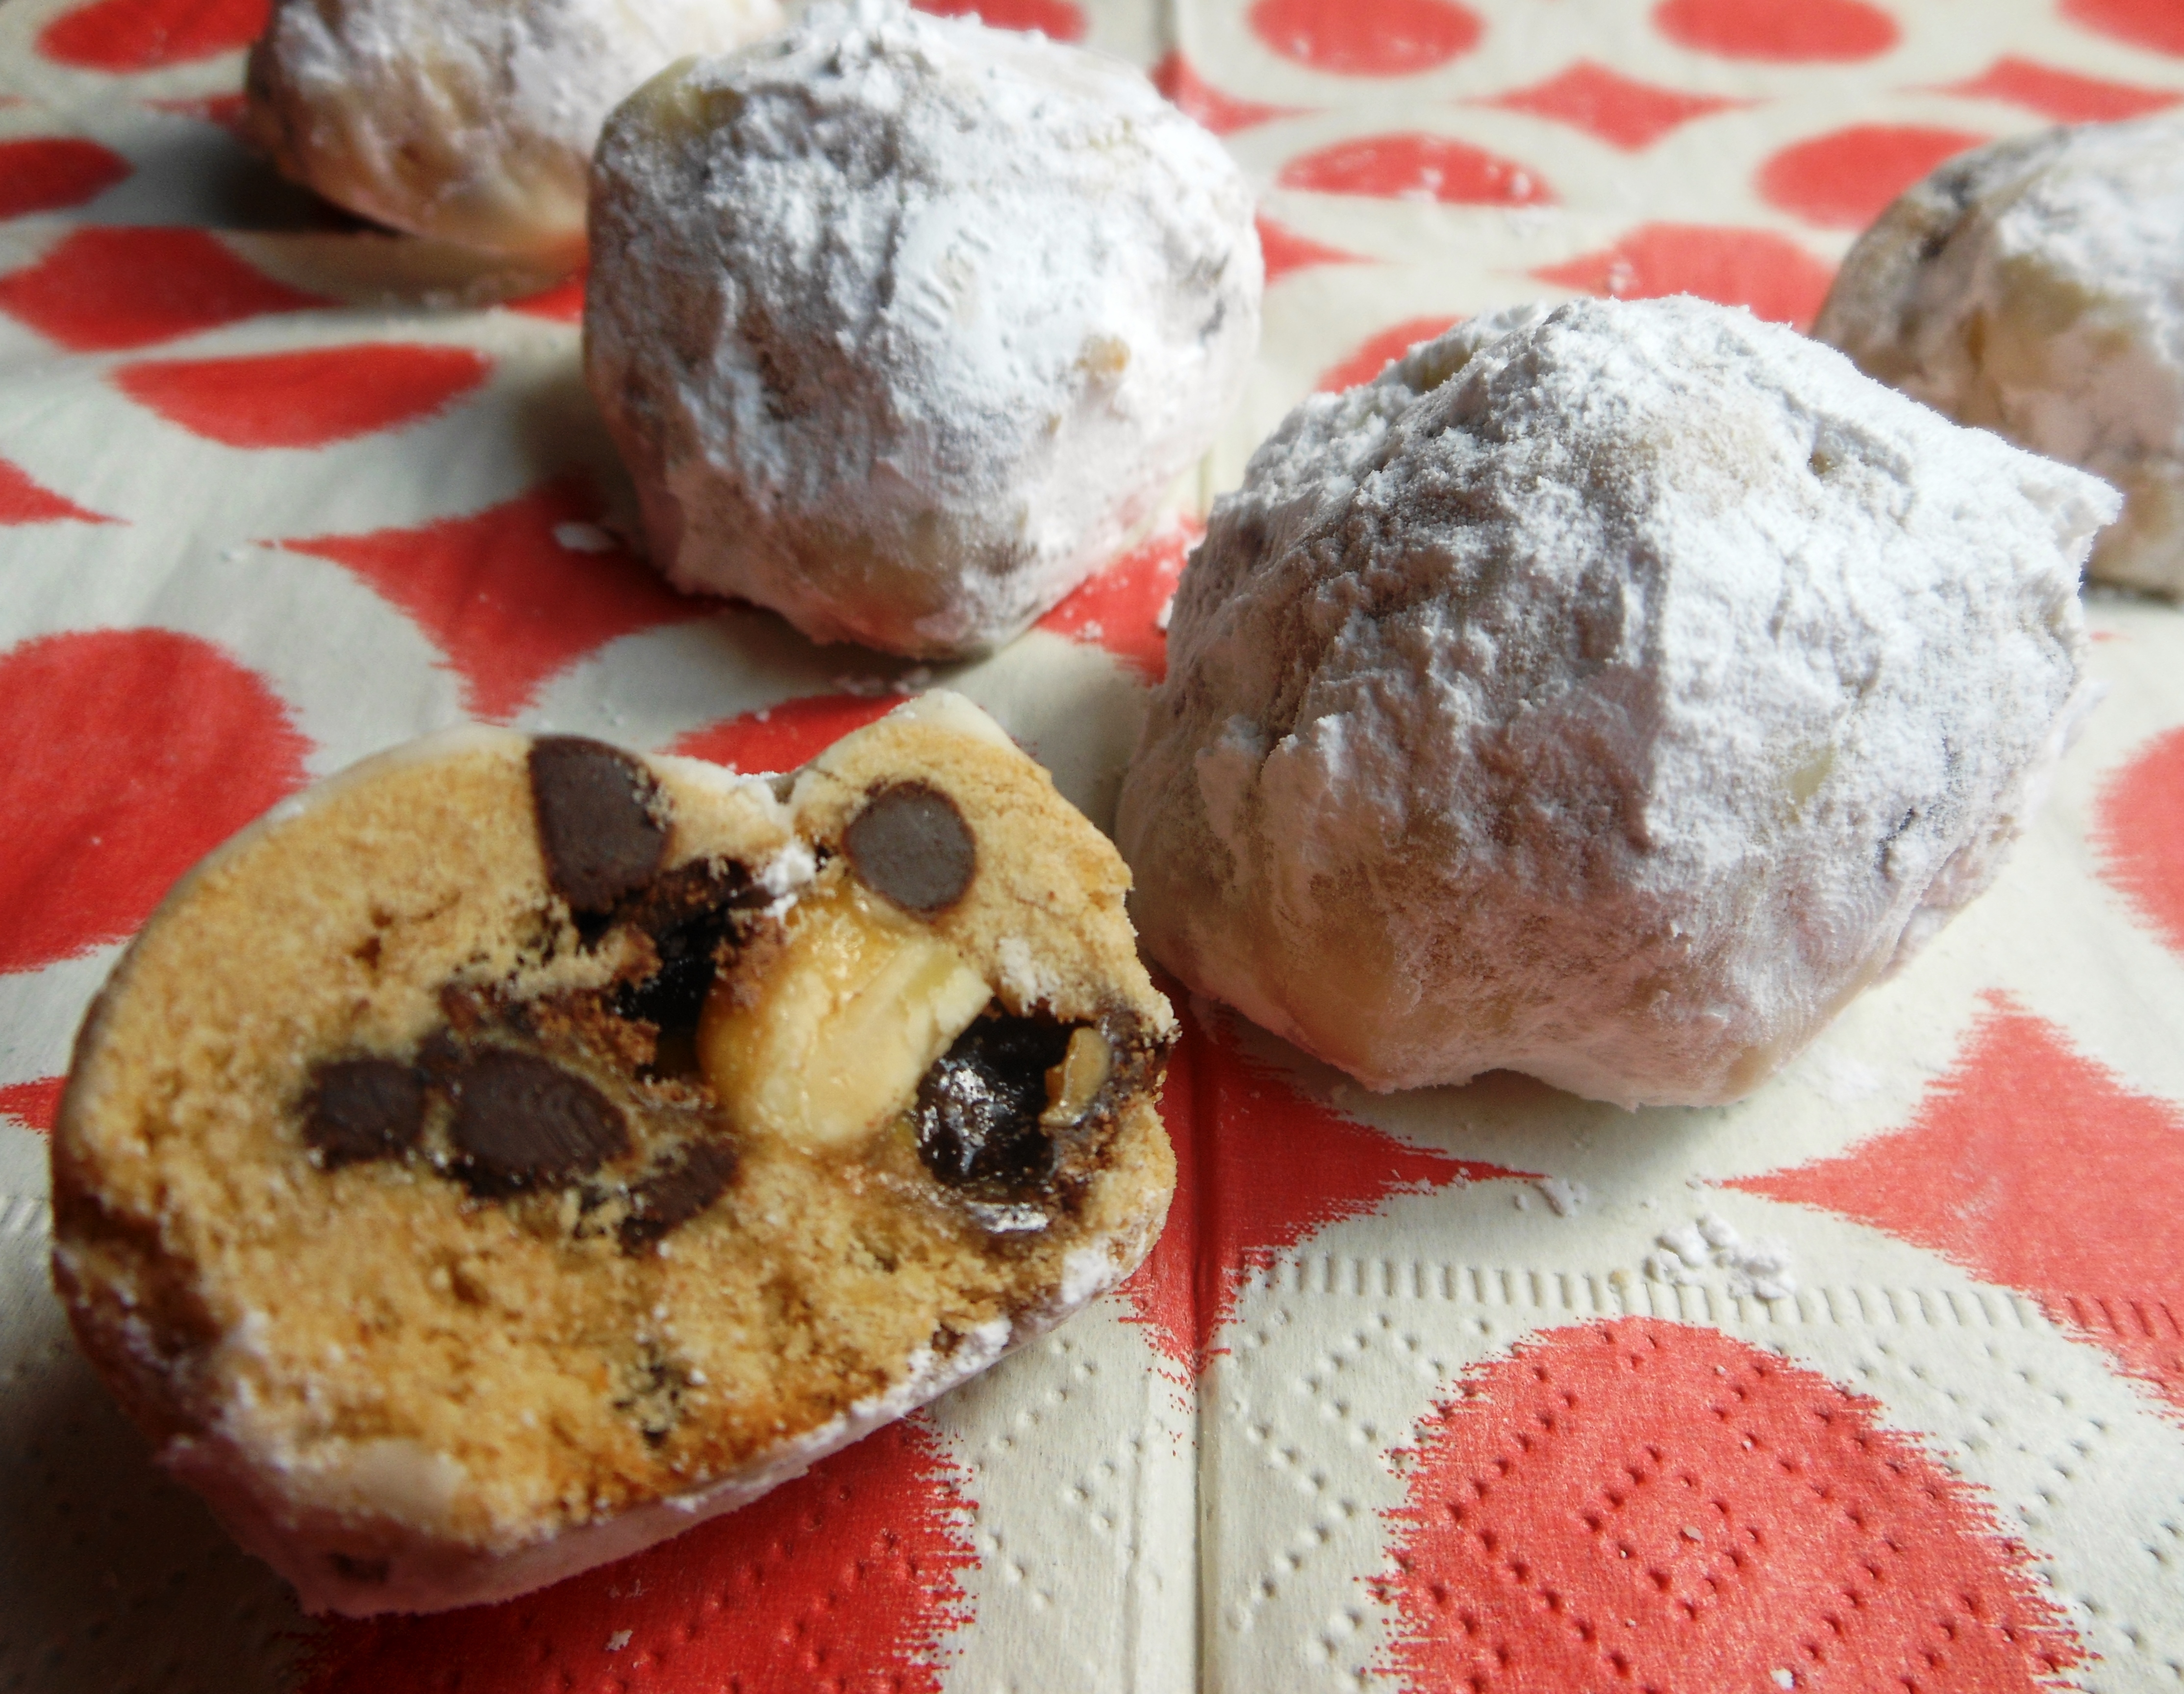
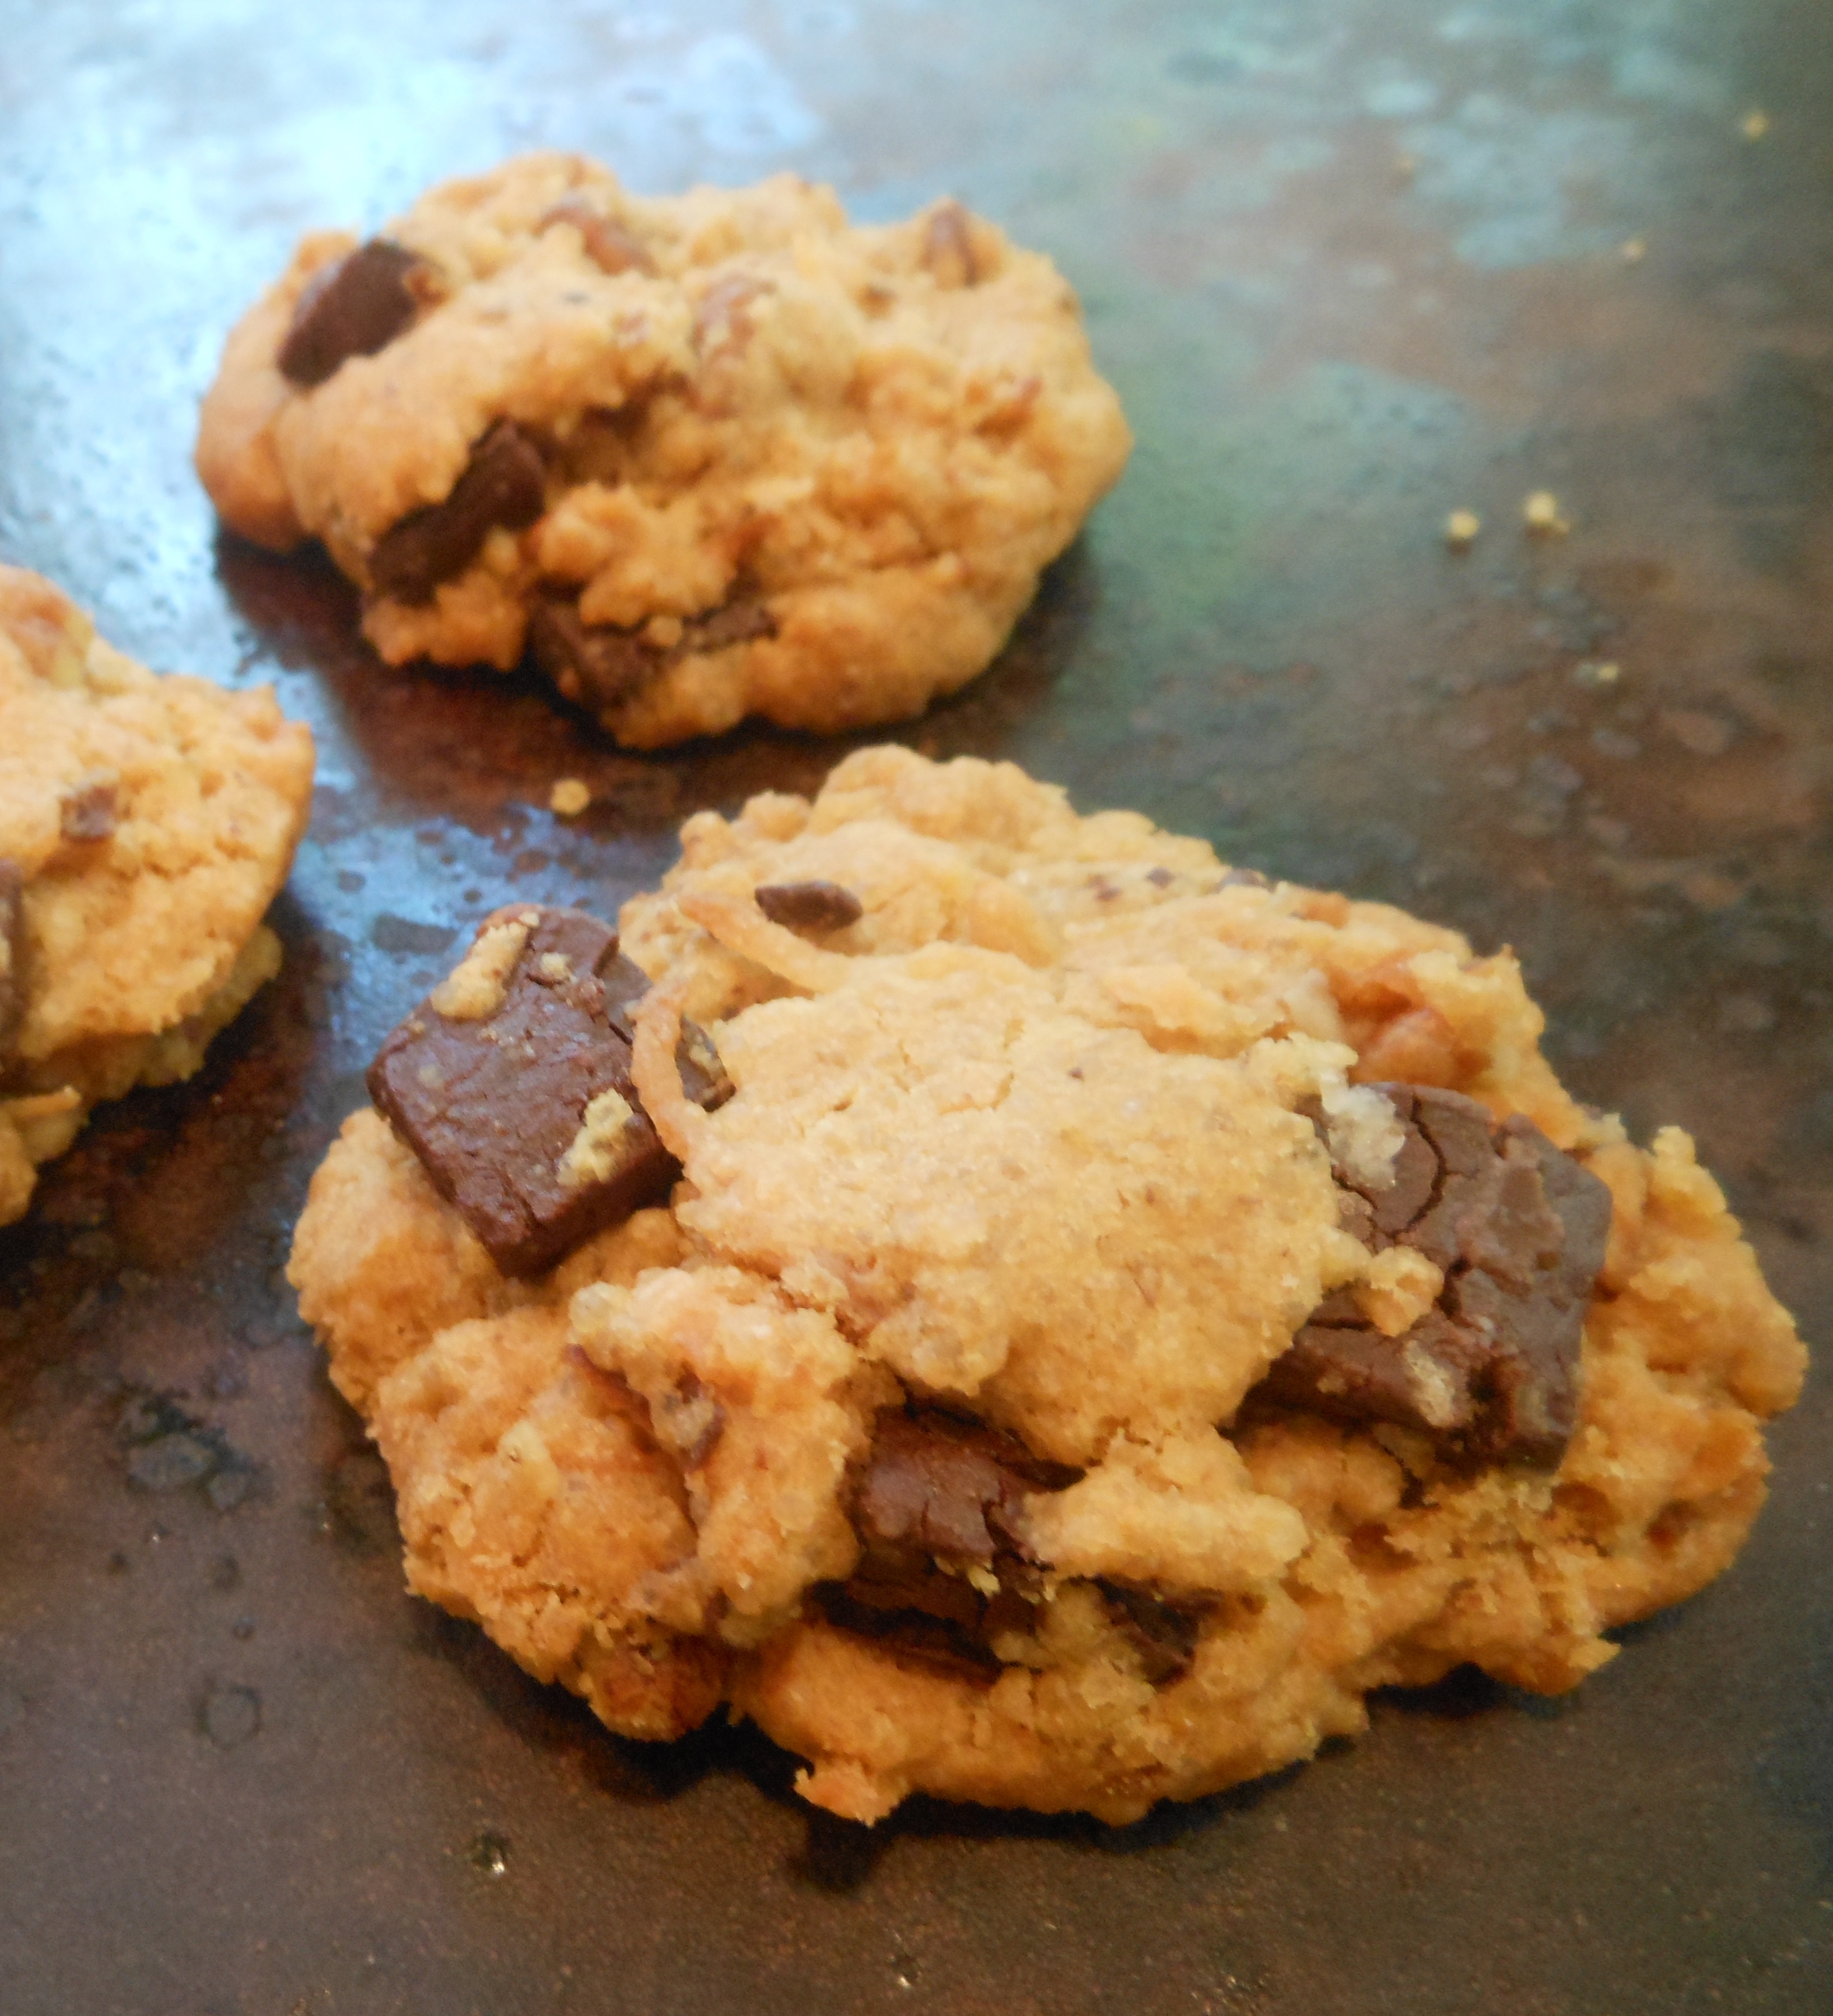
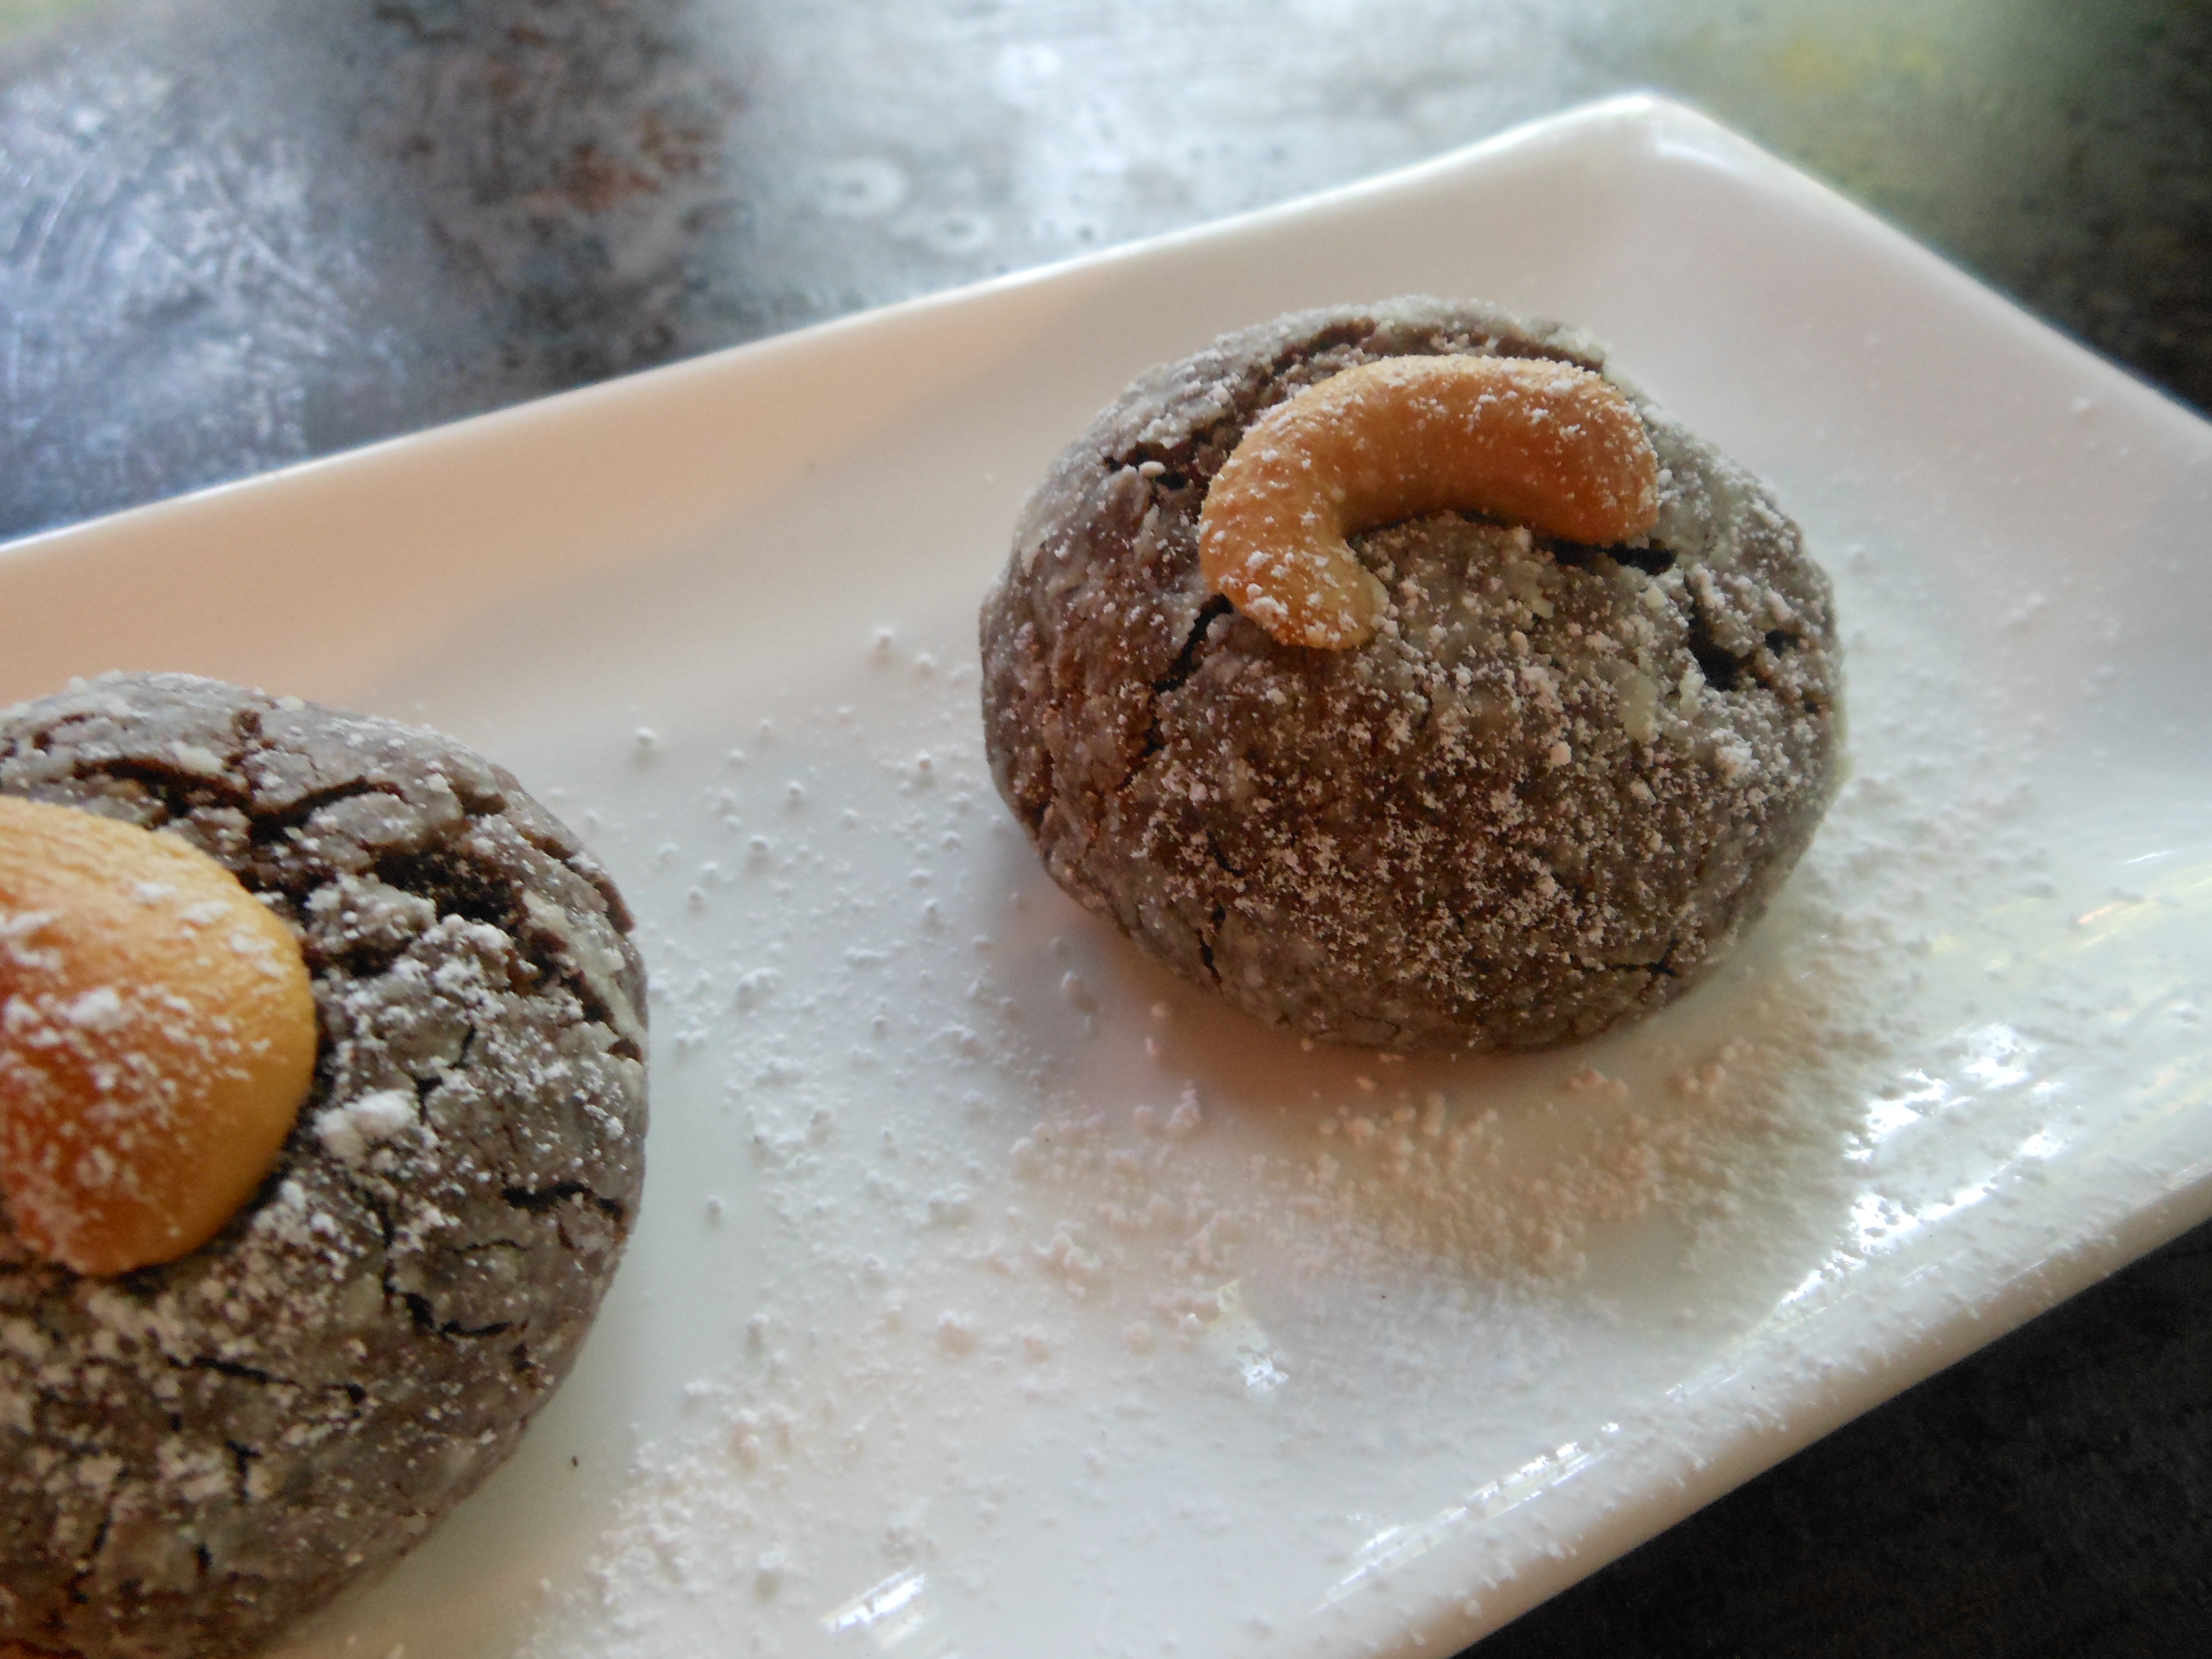
Of course I did the usual when someone is coming over – vacuum up the dog hair, clean the bathroom (remember I have boys!) and clean my kitchen. But I wanted to impress so I chose an appetizer and a dessert from the book to make beforehand. I chose Orange-Espresso Chocolate Chip and Hazelnut Cookies. I followed the recipe exactly being super careful not to inadvertently put something non-vegan in them. Everything was going well until I went to get my coffee beans out to grind one teaspoon of espresso powder. I could not find them anywhere. I love those beans. I had bought them at a little coffee roasting shop on the way to Luray, VA – but they were nowhere. So I racked my brain to come up with an alternative. Finally I ripped open a little Keurig cup and ran it through my grinder to make it into powder. It worked! One teaspoon of “espresso” done!

Next step was the chocolate chips. That’s when I saw the word “vegan” before the words “chocolate chips”. Noooooo!! I had not even considered that my chips were not vegan. Since I didn’t have any idea where to start looking for vegan chips, I was not going to the store so I divided the dough in half. One half gets real chocolate chips and the other will be Orange “Coffee” Hazelnut Cookies. (Thankfully she brought an amazing dessert so we didn’t need them.) I did, however, bake a test batch before dinner and I must say that these cookies are incredible. I have a hard time believing that this dough does not have eggs. They bake up just like any other cookies. My son looked skeptical and politely declined them but later I found the half empty container on the counter so he must like them too.

Mushrooms with Sherry
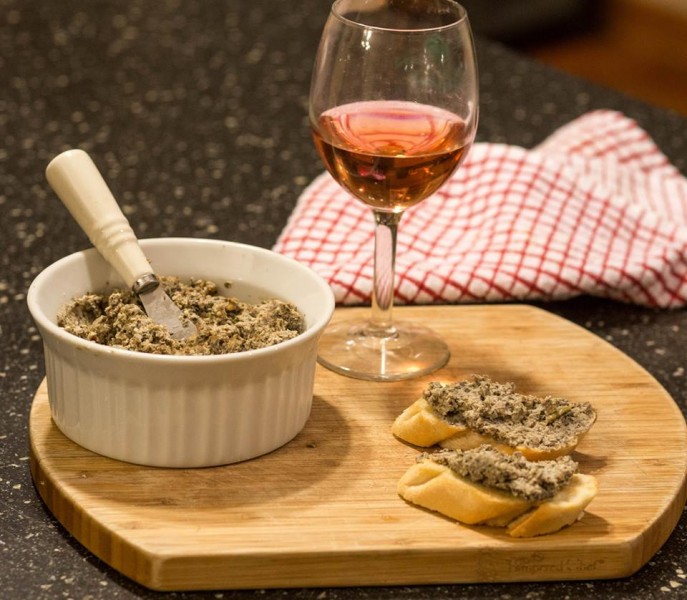
The appetizer I chose was Sherried Mushroom Bruschetta. I have been looking forward to trying this recipe for a while – it sounded so good! I loved putting this together with the obvious exception that I had to use my dumb food processor. Later in the evening I did learn that silken tofu is different than the refrigerated tofu I used but no matter – I think it came out great. [Betsy’s note: it was perfection!] I got a bit heavy handed with the red pepper flakes but no one seemed to mind. My son only had a problem with the gray color but once he tasted it, he was sold.

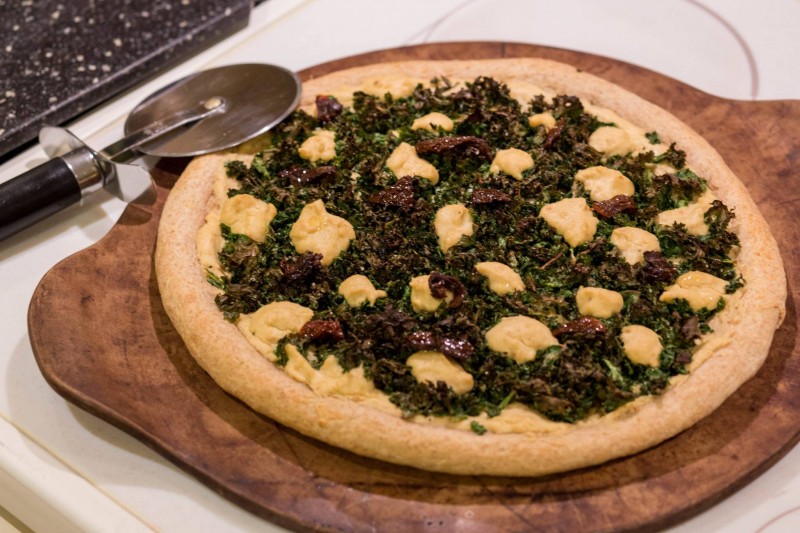
So now my preparations are done…until I sat down and read through the recipe we had chosen to make. The pizza dough for the Kale and Sundried Tomato Pizza takes two hours to rise! I decided if I didn’t take this part on by myself we would not be eating til 10 PM. Even though I have never made pizza dough, I put on the how-hard-can-it-be attitude and got busy. And it really wasn’t too hard. I did not cheat either. I really used wheat flour. I had bought this to make dog biscuits a while ago and it was sealed up in the back of my cabinet. Nothing flew out of it when I opened it so we were good to go.

As soon as I got the dough set up to rise, Betsy arrived. She came in with an amazing looking cake roll with salted caramel icing. OK we can skip dinner now! It turned out to be a girl’s night since my husband was out for the evening and my son left for his Krav Maga class. (Oh, before he left, he pulled out a container of pork BBQ leftovers from the fridge and starts eating it out of the container right there in the kitchen. I was cringing, hoping Betsy wouldn’t notice…but she did. She was so cool about though. And that’s my family!!).

Anyway we chose a wine and started cooking. She promised me I would love the kale but I was skeptical watching her cut it up. She insisted I try it raw. She ate hers, but mine ended up in the sink. Sorry! I couldn’t even pretend to like it raw. Not good! Next she started the “cheese.” This was not my area – you know how much I cheat with real cheese – so I stepped back and watched her make it. I loved it! Would I give up my cheese for it? No, but I really loved it.

Betsy Making Pizza Crust
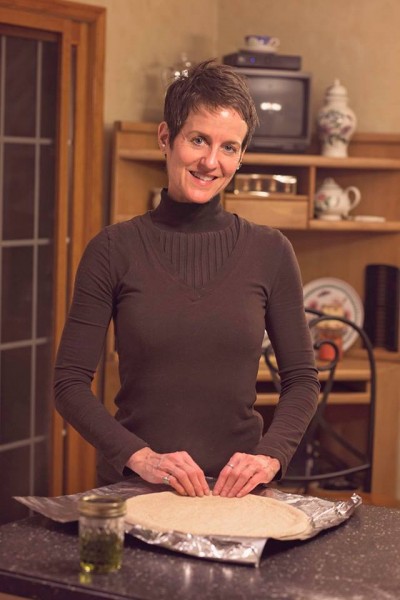
When the dough was done rising, she showed me how to press it out by hand into a circle. Then we prepared the pan to sauté the kale – I forgot to turn the burner on but that was the only glitch. We put the pizza together and got it into the oven. Then we got to just hang out, she met my turtle, Desiree, and we went outside to check out my herb garden. My dog Allie was already her best friend at this point. Before long the pizza was out of the oven and ready. We took some pictures (of course!) and then served it up.

My son was back from class at this point and joined us for dinner. We loved the pizza! Even with kale!! It was flavorful and salty and the kale was very tender. We agreed later it may have been too salty because I only had course sea salt and no grinder. [Betsy’s note: totally my fault; I cook with coarse sea salt and I just wasn’t careful–must have been the wine and the great conversation.]   My husband was quick to point out the saltiness too when he tried it later – this from a guy who snacks on bouillon cubes?! Really?

The time finally came when I could try the cake she brought. OMG! So good! As soon as she posts that recipe I will be lifting it right off her website.

We had so much fun cooking and laughing together but the time came when she did have to get back home to her puppies. I loved learning so many new ways of cooking healthier. I love that she is so non-judgmental about my family’s food choices and is supportive of how I am incorporating her amazing recipes into my way of life. She is one of the sweetest, most gracious people I know and I am glad I can call her my friend. It really was a great evening.

~Kim Hastings

Kim Hastings


My Grandmother’s (vegan) Atendas–Not-too-Sweet Roll-and-Cut Cookies–THE BEST

Mam-ma's Attendas
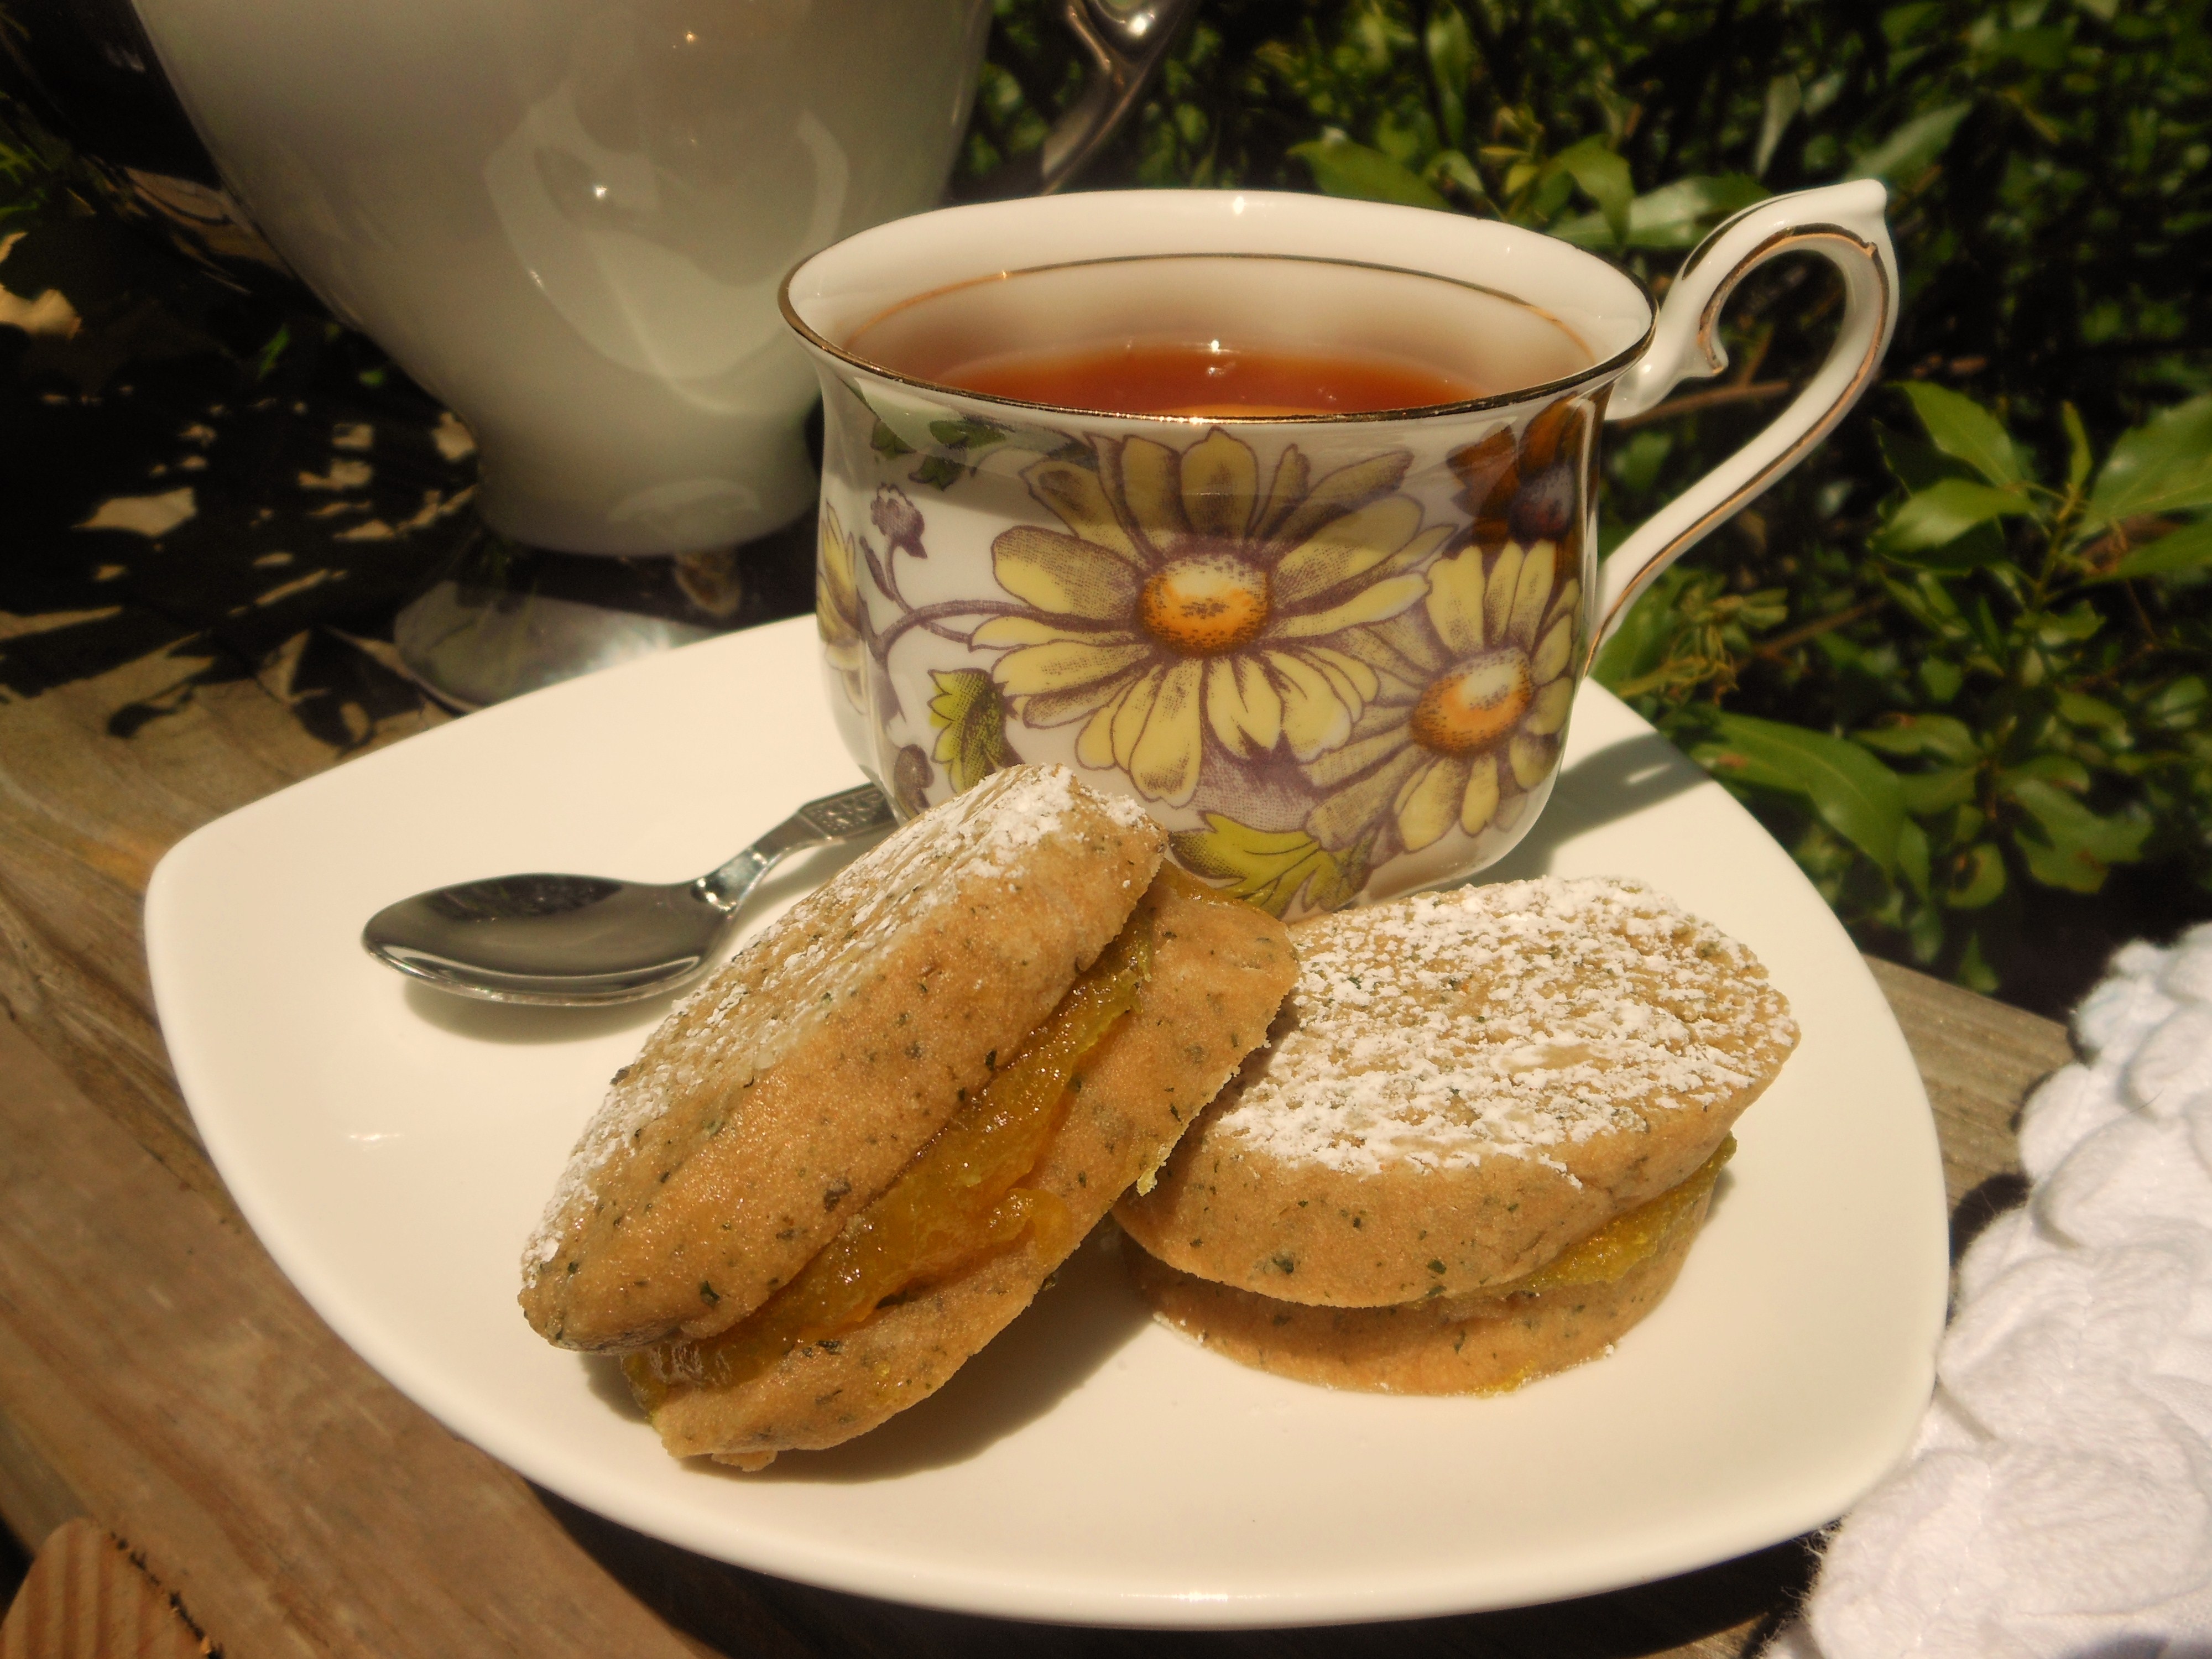
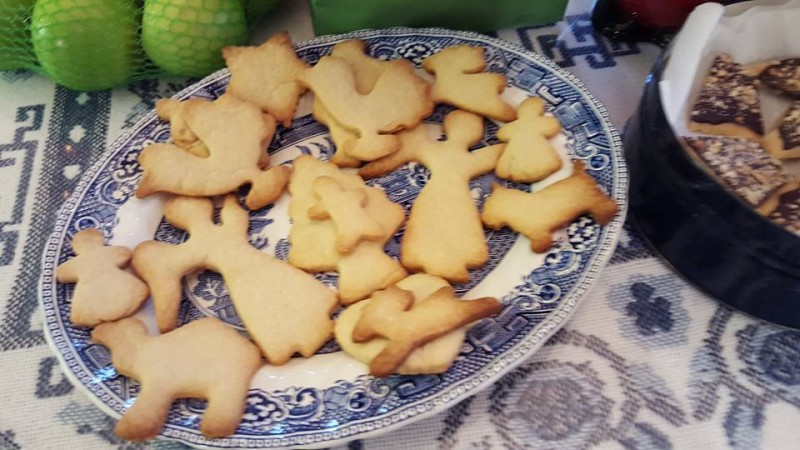
Roll and cut cookies aren’t just for Christmas anymore…

These family favorites hail from my late paternal grandmother. Not a sugar cookie and not a sand tart–they are their own special thing–she shipped them from Houston to wherever we were spending Christmas, or kept them for our arrival at her house. When she moved to MS, we sometimes made them together. And after she passed away, we have kept the tradition alive in MS and VA.

Often, I have made them for gifts, packaged in tins from the Dollar Tree and tied with festive ribbon.  Practically legendary, they were the subject of a food feature I wrote for The Virginian-Pilot, and my sister and I included them in the program we created for Mam-ma’s funeral, so the tradition could spread beyond our family.

Not to sweet, my family prefers them a tiny bit over-browned. These cookies freeze and ship beautifully.

1 pound vegan butter, softened
1 cup granulated sugar
Vegan egg substitute to equal 5 eggs
1/2 teaspoon vanilla extract
1 teaspoon baking powder
5 cups all purpose flour

Preheat oven to 350 degrees. Butter two baking sheets and set aside.

With an electric mixer, cream together butter and sugar until fluffy. Beat in eggs/egg substitutes, one at a time, until well combined. Beat in vanilla and baking powder.

With mixer on low, add flour, 1 cup at a time, mixing just until dough forms. It should be tender, but not sticky, and hold its shape nicely.

Working with small amounts of dough at a time (about 1/8th), on a lightly floured work surface, roll to about a scant 1/4-inch thick and cut with favorite cookie cutters. Place cookies about 1-inch apart on prepared pans and bake about 13 minutes or until golden brown, rotating pans halfway through.

Cool cookies slightly on pans, and then remove to racks to cool completely. Repeat with remaining dough. Store in airtight tins or containers.

Vegan Jokerz’ Wild Cookies (Pieces of Jokerz Candy Bars–think vegan Baby Ruths–Encased in Peanut Butter and Mini-Chocolate Chip Dough)

Jokerz Wild Cookies--Horizontal 1Yield: 2 dozen cookie balls

I am slowly working my way through a box of seven different candy bars from the good folks at Go Max Go Foods, makers of vegan candy bars that will remind you of some of your childhood non-vegan favorites, but are no mere knock-offs.

As if the flavors and textures alone weren’t enough to tempt, their commitment to ethical and non-GMO sourcing is the icing on the cake, er, the coating on the candy bar.

In this recipe, cookie dough and Jokerz candy bars “complete each other” like Batman and his nemesis for a wildly delicious double dose of peanuty, nougatey, chocolatey goodness.


2 Go Max Go “Jokerz” candy bars, sliced lengthwise and then across to create 12 pieces each

1/2 cup vegan butter

2 tablespoons crunchy “natural” peanut butter

1/2 teaspoon vanilla

1/4 cup powdered sugar + 1/2 cup additional powdered sugar (for rolling)

3/4 cup all-purpose flour (I use white whole wheat)

1/8 teaspoon sea salt

1/2 cup mini vegan chocolate chips or 1/2 cup chopped peanuts

Preheat oven to 400 degrees and line a baking sheet with a silicone mat or parchment paper.  Slice each candy bar lengthwise and then across to create 12 pieces each.  Using an electric mixer, cream together butter, peanut butter, and vanilla.  Beat in 1/4 cup powdered sugar until fluffy.  With mixer on low, mix in flour and sea salt followed by chocolate chips or peanuts.  Shape generous tablespoons of dough around each candy bar piece to form a ball and place cookies about 2-inches apart on prepared baking sheet.  Bake for approximately 8 minutes or until set and light golden brown, watching carefully during the last minute or two.   Avoid over-baking or they will split open and the candy bar will ooze out.  Cool for 5 minutes.  Place remaining 1/2 cup powdered sugar in a shallow bowl and roll each cookie in it to coat.  Place cookies on wire rack to cool completely.  Roll again in powdered sugar before serving, if desired.


Vegan Toasted Coconut and Chocolate Chunk Cookies (coconut oil is the secret to THE BEST chocolate chip cookies ever!)

Toasted Coconut-Chocolate Chunk CookiesYield: approximately 3 dozen cookies

In my go to chocolate chip cookies, I like a blend of vegan butter and vegetable shortening for the best of both worlds.  Craving cookies, but with no shortening, I decided to substitute coconut oil (solid at room temperature) and oh, boy, those of us who haven’t been baking cookies with coconut oil have been missing out!  The resulting cookie has the most delectable crispy-crumbly-tender texture imaginable, but they don’t fall apart, no sirree!  They are perfection in every way.

The coconut oil imparts to the cookies a very subtle hint of coconut flavor, that will make coconut lovers swoon; but not so much that the coconut averse would object.  However, we love coconut in this house, so I decided to add some toasted coconut instead of nuts and the result was addicting and just as comforting as old-style chocolate chip cookies.  However, feel free to load them up with the chips, nuts, and dried fruit of your choice.

1/2 cup butter

1/2 cup coconut oil

1 1/2 cups demerara sugar (or lightly packed light brown sugar)

1 tablespoon baking powder

1 1/2 teaspooons baking soda

1/8 teaspoon sea salt

1 3/4 cups unbleached all-purpose flour (I use white whole wheat)

10 ounces vegan dark chocolate chunks or chips (most organic brands are vegan; check the label)

1 1/2 cups lightly toasted coconut

Preheat oven to 350 degrees and line two baking sheets with silicon mats or parchment paper.  With an electric mixer, beat together butter and coconut oil until creamy.  Add sugar and continue beating until fluffy, scraping down sides of bowl as necessary.  (Note: if using dmerara sugar, because of the larger crystals, they will not dissolve completely.)  Add baking powder, soda, sea salt and one-third of flour, mixing on low speed just until combined.  Add remaining flour in two parts, continuing to mix on low speed, scraping down sides of bowl as necessary.  Add chocolate chunks and coconut and mix just until combined.  Drop by generous rounded tablespoons onto baking sheets, using dampened fingers to gently flatten the tops of the cookies.  Bake 9 to 11 minutes, rotating pans after 5.  Cool pans on wire racks.


Vegan Cherry Chocolate Cashew Balls

Almost Two BallsYield: 2 dozen cookies

The only thing better than a moist chocolate cookie is one with a hint of cherry flavor, a juicy maraschino cherry tucked inside, and a buttery cashew on top.

Quite deceiving in appearance, the exterior of these cookies keeps a secret of the bright red maraschino cherry surprise hidden within.

Simple to prepare but quite fancy in appearance, these cookies are equally at home in school lunch boxes or on cocktail party trays.

Sunday night, I served them to our dear friends and houseguests, Juliane and Marc Curvin.  Health conscious, like me, we eacg enjoyed one cookie perched in a stainless steel Chinese spoon, all lined up on a long and narrow contemporary white rectangular plate.  Neither they nor my husband are vegans or even vegetarians, but all thought these treats were the perfect 1- or 2-bite sweet ending.

8 ounces vegan chocolate chips, melted

1/2 cup vegan butter

1 cup turbinado sugar (or any granulated sugar)

1 teaspoon vanilla

2 tablespoons maraschino cherry juice

1/4 cup cherry liqueur (or substitute 1/4 cup maraschino cherry juice)

2 tablespoons non-dairy creamer or non-dairy milk

2 cups white whole wheat flour (or unbleached all-purpose)

Pinch sea salt

24 maraschino cherries, drained

approximately 1/2 cup confectioner’s sugar

24 lightly salted and roasted cashew halves

Preheat oven to 375 degrees.  Line a baking sheet with Silpat.  In a medium bowl, melt chocolate in microwave or over simmering water.  Remove from heat and stir in butter until it melts.  Add sugar, vanilla, cherry juice, cherry liqueur, and non-dairy creamer and whisk to combine.  Whisk in half of flour and then incorporate remaining flour using a fork.  Dough will be somewhat stiff.  Using a small scoop, form a ball of dough.  Using your thumb, create a depression in the center and place a maraschino cherry inside.  Press dough around it to completely encase and gently reashape into a ball.  Roll in powdered sugar and place on prepared baking sheet.  Place a cashew half on the top pressing down ever so slightly to adhere.  Repeat with remaining dough, cherries, confectioner’s sugar, and cashew halves, placing balls about 2 inches apart.  Bake 12 minutes.  Let cool slightly on baking sheet and then remove to a wire rack to cool completely.  Dust with additional confectioner’s sugar before serving.

Vegan Maple-Molasses Roll-and-Cut Sugar-free Sugar Cookies with Sugar-free “Frosting”

Sugar-Free Maple Molassess Roll and Cut Cookies
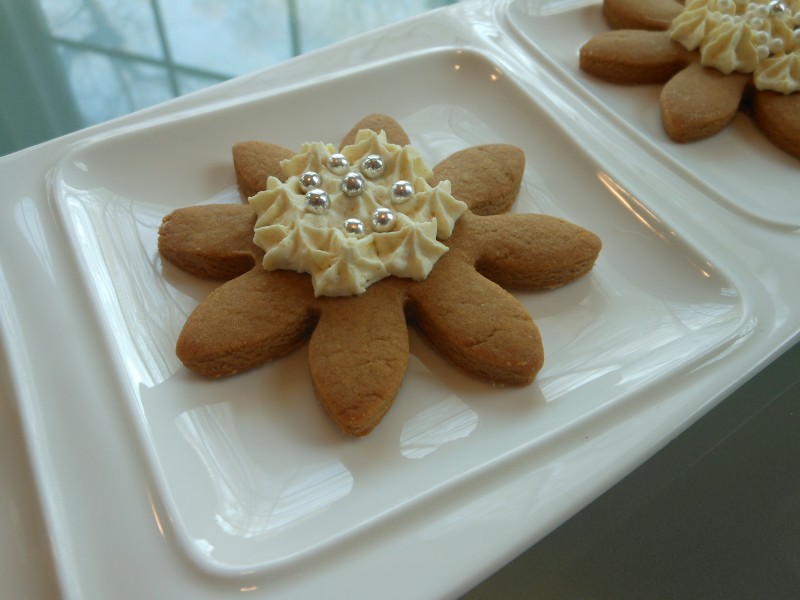
One of my favorite yoga instructors, Angela Phillips, avoids sugar.  Feeling spring in the air and having recently purchased cute little flower-shaped cookie cutters, I wanted to take her a  “happy” to class this morning.  So, I searched online for some sugar-free roll-and-cut cookies made with maple-syrup and/or molasses, but didn’t find what I was looking for, so I had to wing it which, honestly, is more fun anyway.

Knowing that granulated sugar aerates (vegan) butter as you beat it together, I figured that the absence of sugar might make for a heavier cookie.  So, I incorporated a couple of tablespoons of cornstarch to lighten the dough–lovely!  A bit of baking soda provided extra insurance that the texture would be perfect.  Other than that, I found that 2 tablespoons of molasses to 6 tablespoons of maple syrup was an ideal proportion to prevent the molasses from hogging the limelight.  And that a little vanilla and almond extracts rounded out the flavor.  In winter months, you can spice these cookies up with cinnamon, cloves, ground ginger, and so forth.  But, for April, I didn’t really want those warm spices and the cookies are delicious without.

Feeling very proud of myself, as I got ready to decorate them, I suddenly realized that the only frostings I know how to make are made with sugar, most frequently, confectioner’s sugar.  Wracking my brain, I ultimately decided on whipped (vegan) cream cheese sweetened with a little maple syrup and flavored with a little vanilla and almond extracts plus lemon zest was perfect.  Sort of like cream cheese on a bagel.  And the consistency still allowed me to use my piping bag for an extra-pretty touch.  

Enjoy these sugar-free beauties all year…starting now!

Cookies:

1 cup vegan butter

1/4 cup plus 2 tablespoons maple syrup

2 tablespoons unsulphered molasses

1 teaspoon vanilla extract

1/2 teaspoon almond extract

2 tablespoons cornstarch

2 teaspoons baking soda

Pinch salt

3 cups unbleached all-purpose flour (I actually prefer white whole wheat)

Optional: ground spices like cinnamon, cloves, ginger

Preheat oven to 350 degrees and line two cookie sheets with parchment paper or Silpat.  Using an electric mixer, cream butter until fluffy.  Add maple syrup, molasses, and vanilla and almond extracts, and continue creaming until thoroughly incorporated.  Add cornstarch, baking soda, a pinch of salt and 1 cup of flour and incorporate on lowest speed of mixer or by hand.  Add remaining flour (and spices if using any), 1 cup at a time.  Flour work surface and, using about one-quarter of dough at a time, roll to a 1/4 to 1/3-inch thickness.  Cut out with cookie cutters, arrange on prepared cookie sheets, and bake for 10 minutes.  Cool completely on wire racks and frost as desired.  If using the cream cheese “frosting” below, store frosting cookies covered in refrigerator.  I like to store them in a shallow container so that the plastic wrap doesn’t smear the frosting.

Sugar-Free “Frosting”

8 ounces vegan cream cheese

1 tablespoon maple syrup

1/4 teaspoon vanilla extract

1/8 teaspoon almond extract

Zest of 1 lemon

Optional: Food coloring/dye if desired, natural preferred and dragees

Using an electric mixer, cream all ingredients together until fluffy and pipe onto cookies as desired.  Cover and refrigerate any leftover frosting.

Vegan Lemon Verbena Shortbread Sandwich Cookies with Vegan Lemon Curd Filling

Lemon Verbena Shortbread Sandwich Cookies with Lemon Curd Filling 1These Lemon Verbena Shortbread Sandwich Cookies with Vegan Lemon Curd Filling were quite a hit, with men and women alike, at a recent potluck garden party.  A buzz spread through the party as one guest tried them and passed the word.  I happily took home an empty platter!

The cookies are simple, but very special in appearance and flavor.  The shortbread recipe is from my Blooming Platter Cookbook (copyright© 2011, Vegan Heritage Press; used by permission).  And the ingenious Vegan Lemon Curd is from my friend and fellow vegan cookbook author/blogger, Bryanna Clark Grogan.  The secret ingredient that replaces the eggs in the curd is, believe it or not, the lowly parsnip!  You won’t believe how perfectly parsnips make this curd mimic its dairy cousin.  (The lemon verbena leaves fleck the cookies with green, so if you prefer a matching green filling, Bryanna’s recipe easily adapts to lime curd for a lemon-lime version of this sandwich cookie.)

If you don’t have lemon verbena growing in our garden, you should!  But if it isn’t available, you can substitute lemon zest, I’m just not sure how much, but I would start with the zest of one large lemon and taste.  Remember, vegan cookies contain no eggs, so taste away.  You can also substitute fresh lemon juice for the water for a zippier cookie.  However, nothing quite duplicates the earthy, herby, citrusy goodness of lemon verbena.

Thanks to One Green Planet for publishing my Lemon Verbena Shortbread Sandwich Cookies with Vegan Lemon Curd Filling!


Vegan Chocolate Wafer Cookies Filled with Fresh Raspberry-Champagne Buttercream Frosting

Yield: approximately 2 dozen 1 3/4-inch wafers

This Raspberry-Champagne Buttercream Frosting is about the best thing, well, since sliced cookies.  Seriously, it had omnivores requesting the recipe and laying the compliments on thick!

It is as delicious on vanilla cupcakes–heck, it’s delicious on the end of your finger!–and it is in these not-too-sweet chocolate wafers, with their perfect balance of crispness and tenderness.

Coincidentally, while looking for commercial chocolate wafers to encase this buttercream (remember “Famous” brand?), I noticed that Oreos now come filled with a berry cream.  If the combination is good enough for Oreos, it’s definitely good enough for me!  And by the way, this recipe for homemade wafers is very close to what I remember of the taste and texture of Famous wafers, though a tad thicker.

The Chocolate Wafer Cookies are adapted from Alice Medrich’s Pure Dessert by SmittenKitchen.com and veganized by me (just a matter of substituting vegan butter for butter and soymilk for whole milk).  The frosting is The Blooming Platter all the way!

1 1/2 cups unbleached all-purpose flour or white whole wheat flour (I always use the latter)
3/4 cup unsweetened cocoa powder
1 cup plus 2 tablespoons sugar
1/4 teaspoon salt
1/4 teaspoon baking soda
14 tablespoons (1 3/4 sticks) vegan butter, slightly softened
3 tablespoons soymilk (plain or unsweetened)
1 teaspoon pure vanilla extract

1 recipe Fresh Raspberry-Champagne Buttercream Frosing

Combine the flour, cocoa, sugar, salt, and baking soda in the bowl of food processor and pulse several times to mix thoroughly. Cut the butter into about 12 chunks and add them to the bowl. Pulse several times. Combine the soymilk and vanilla in a small cup. With the processor running, add the milk mixture and continue to process until the mixture clumps around the blade or the sides of the bowl. Transfer the dough to a large bowl or a cutting board and knead a few times to make sure it is evenly blended.

Form the dough into a log about 14 inches long and 1 3/4 inches in diameter. Wrap the log in wax paper or foil and refrigerate until firm, at least one hour, or until needed.

Position the racks in the upper and lower thirds of the oven and preheat the oven to 350°F. Line the baking sheets with parchment paper. Cut the log of dough into slices a scant 1/4-inch thick, on a slight bias if you choose, and place them one inch apart on the lined sheets (cookies will spread just a little). Bake, rotating the baking sheet from top to bottom and back to front about halfway through baking, for a total of 12 to 15 minutes. The cookies will puff up and deflate; they are done about 1 1/2 minutes after they deflate.

Cool the cookies on the baking sheets on racks, or slide the parchment onto racks to cool completely. These cookies may be stored in an airtight container for up to two weeks or be frozen for up to two months.

Note: These cookies should crisp as they cool. If they don’t, you’re not baking them long enough, says Medrich — in which case, return them to the oven to reheat and bake a little longer, then cool again.

Related Posts Plugin for WordPress, Blogger...