 Yield: 24 “normal” cookies or 12 “behemoths“
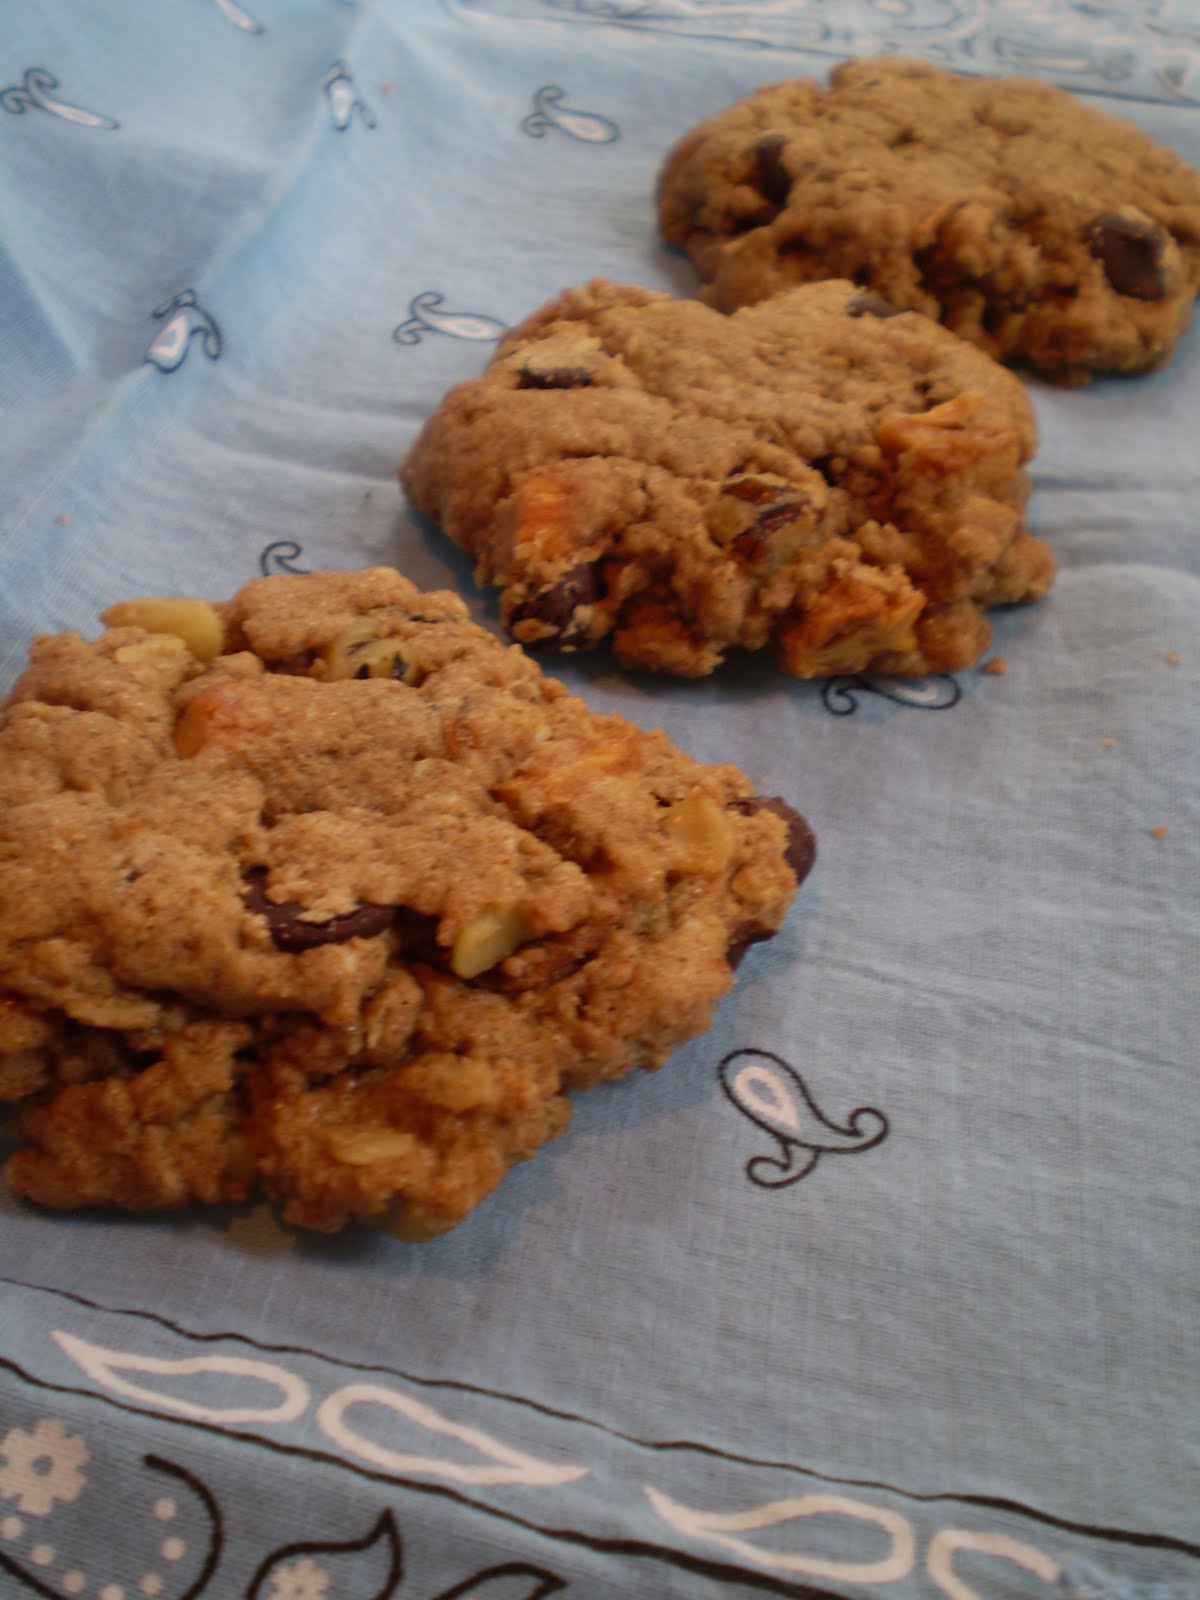
(If pressed for time, I make the big boys. But these are equally good large or small.)
Today, I had an appointment with a periodontist and scheduled gum-grafting surgery for September 3. It seems that for years I’ve done a little too good of a job of brushing my teeth and have some gum recession to tend to before getting the aforementioned Invisiline braces. I now know, first-hand, from whence the phrase “long in the tooth” comes.
What does that have to do with these cookies? It is the only reason I can think of for why I had an especially irrepressible craving for something sweet and tender, chock full of crunchy and chewy morsels like nuts and dried apples, foods I won’t be able to eat post surgery. I was told that I would need to eat a soft diet for two weeks. Hmm…that sounds like soy lattes, wine, soups and vegan ice cream to me. So, in the meantime, I think I should hoard the forbidden foods in my jaws like a squirrel.
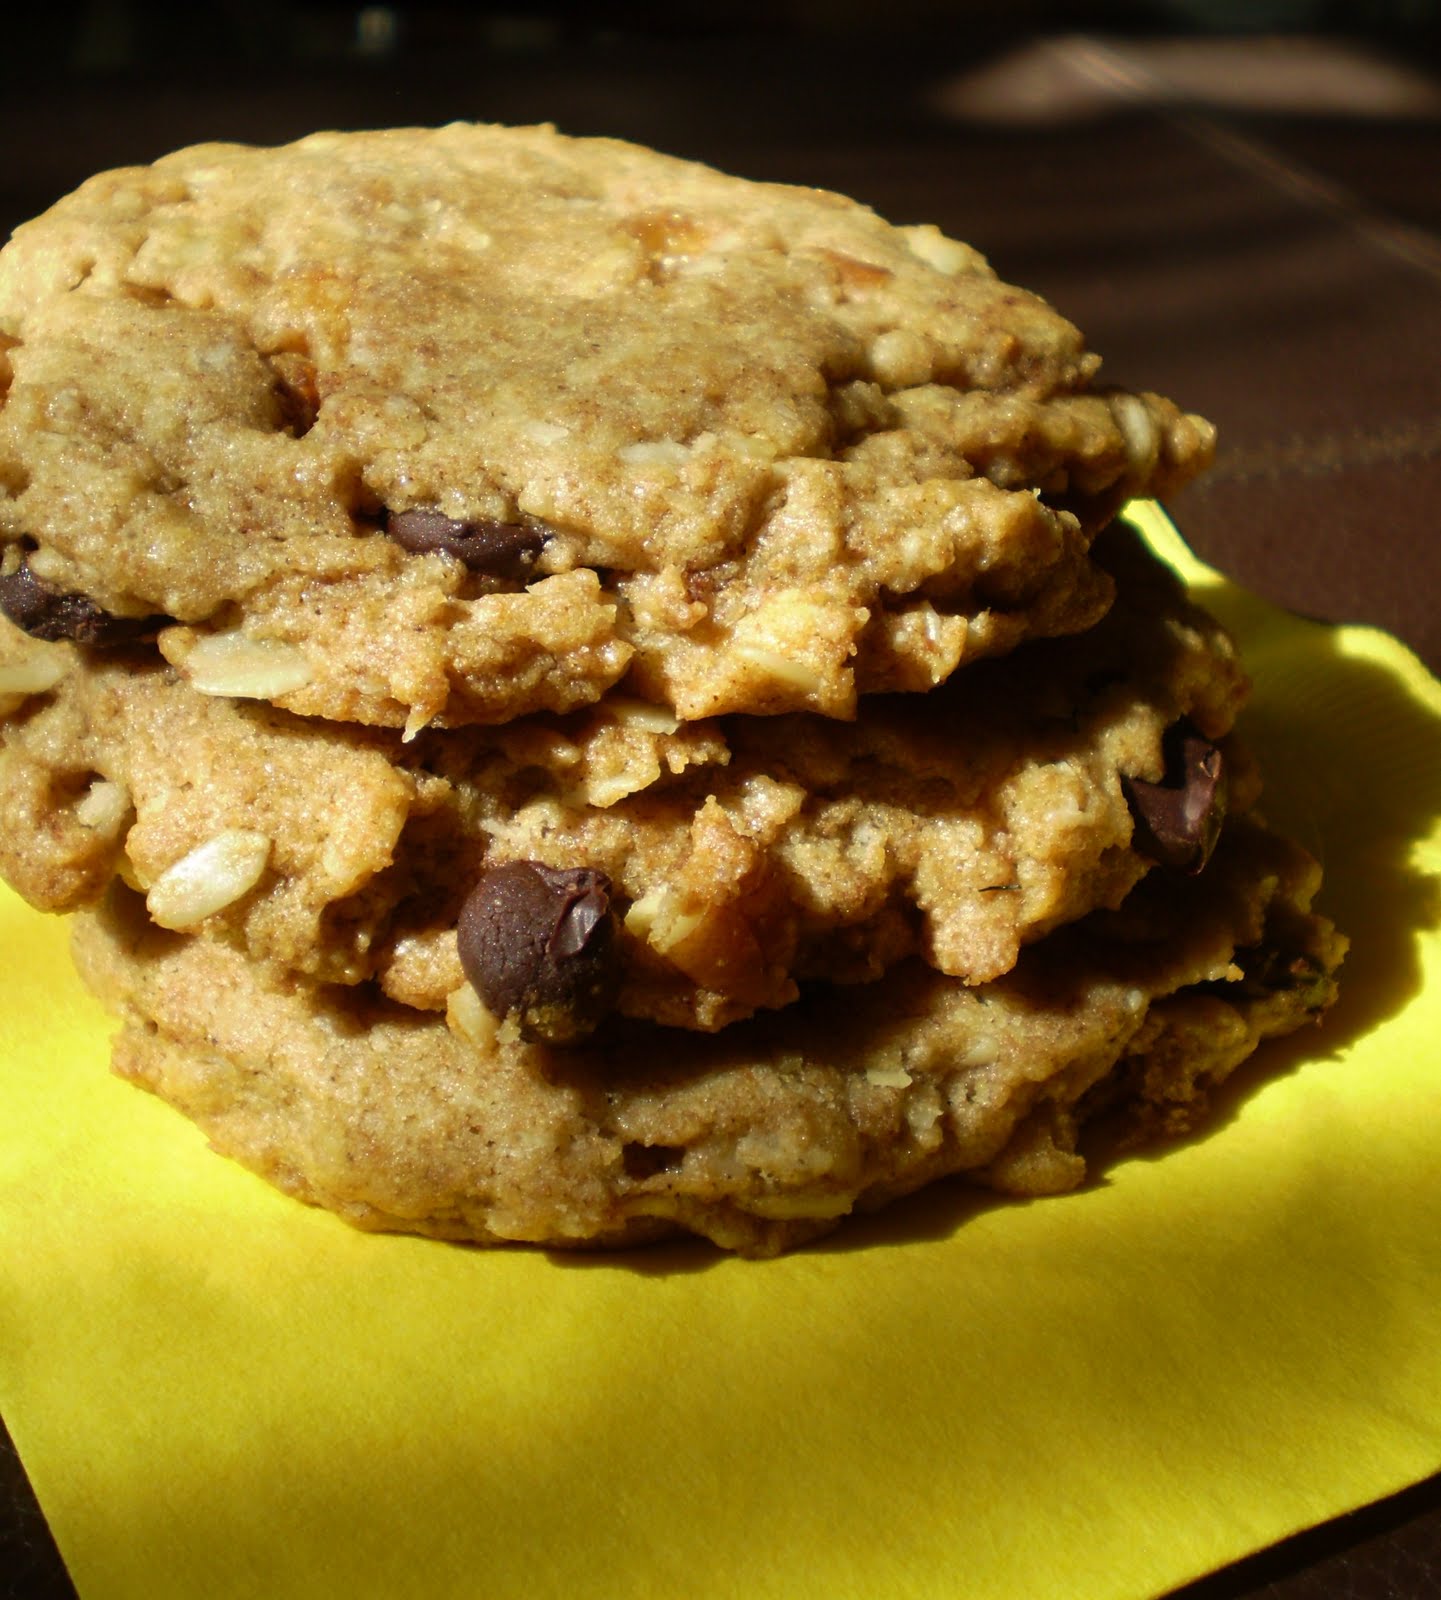
Once again, my favorite dough (but with half whole wheat flour and a little oatmeal) plays a supporting role in these cookies that star dark chocolate chips, walnut pieces, dried apples and a warm and toasty blend of spices which is especially tasty. Be sure to use all four spices because they are more than the sum of their parts.
½ cup vegan butter, room temperature (I like Earth Balance)
½ cup vegetable shortening
½ cup light brown sugar
½ cup sugar
6 tablespoons unsweetened soy milk, preferably at room temperature (plain or vanilla soy milk works too)
1 generous teaspoon pure vanilla extract
1/2 teaspoon maple extract
1 cup + 2 tablespoons unbleached all-purpose flour
1 cup + 2 tablespoons whole wheat flour
1 teaspoon baking soda
½ teaspoon salt
1 teaspoon ground cinnamon
1/2 teaspoon ground ginger
1/2 teaspoon ground allspice
pinch nutmeg
scant 1/2 cup oatmeal
scant 1/2 cup vegan dark chocolate or semi-sweet chocolate chips
scant 1/2 cup walnut pieces (or almonds, hazelnuts, pecans)
scant 1/2 cup diced dried apples (a 1/4-inch dice seems just right)
Preheat the oven to 350 F. In the large bowl of an electric mixer, cream the butter, shortening, brown sugar, and sugar until it is light and fluffy. Slowly blend in the soy milk, vanilla and maple extract. Add the flours, baking soda and spices, and mix on low speed until well combined. Then fold in the remaining ingredients. Drop 24 small scoops onto Silpat-covered, oiled or parchment paper-lined cookie sheets. Press tops of mounds down slightly and bake for 8 to 10 minutes or until golden brown. Or make 12 extra large cookies using two scoops of dough, pressing the mounds down to about a 1/2″ tall disk, leaving 2″ between, and baking for approximately 12-15 minutes. Check after 12 . Cool slightly on cookie sheets and then remove to racks to cool completely. Store in airtight containers.