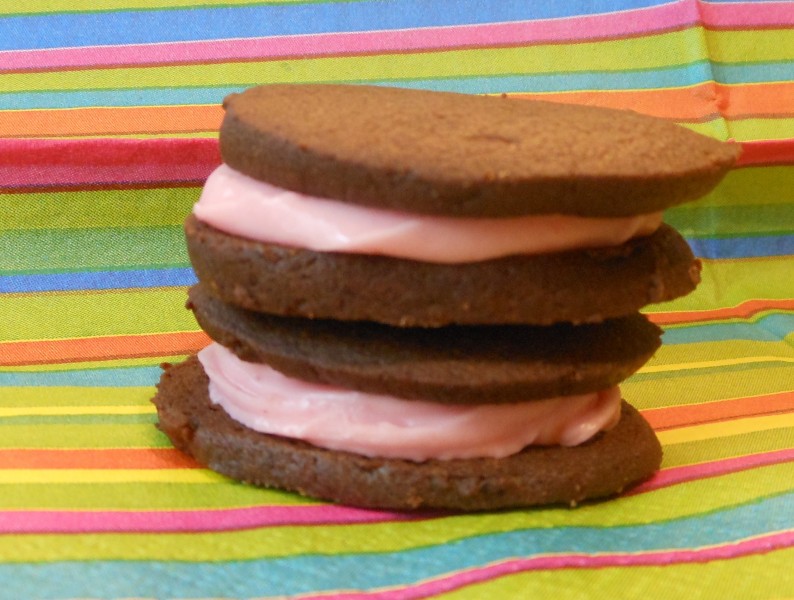
 Yield: approximately 2 dozen 1 3/4-inch wafers
This Raspberry-Champagne Buttercream Frosting is about the best thing, well, since sliced cookies. Seriously, it had omnivores requesting the recipe and laying the compliments on thick!
It is as delicious on vanilla cupcakes–heck, it’s delicious on the end of your finger!–and it is in these not-too-sweet chocolate wafers, with their perfect balance of crispness and tenderness.
Coincidentally, while looking for commercial chocolate wafers to encase this buttercream (remember “Famous” brand?), I noticed that Oreos now come filled with a berry cream. If the combination is good enough for Oreos, it’s definitely good enough for me! And by the way, this recipe for homemade wafers is very close to what I remember of the taste and texture of Famous wafers, though a tad thicker.
The Chocolate Wafer Cookies are adapted from Alice Medrich’s Pure Dessert by SmittenKitchen.com and veganized by me (just a matter of substituting vegan butter for butter and soymilk for whole milk). The frosting is The Blooming Platter all the way!
1 1/2 cups unbleached all-purpose flour or white whole wheat flour (I always use the latter)
3/4 cup unsweetened cocoa powder
1 cup plus 2 tablespoons sugar
1/4 teaspoon salt
1/4 teaspoon baking soda
14 tablespoons (1 3/4 sticks) vegan butter, slightly softened
3 tablespoons soymilk (plain or unsweetened)
1 teaspoon pure vanilla extract
1 recipe Fresh Raspberry-Champagne Buttercream Frosing
Combine the flour, cocoa, sugar, salt, and baking soda in the bowl of food processor and pulse several times to mix thoroughly. Cut the butter into about 12 chunks and add them to the bowl. Pulse several times. Combine the soymilk and vanilla in a small cup. With the processor running, add the milk mixture and continue to process until the mixture clumps around the blade or the sides of the bowl. Transfer the dough to a large bowl or a cutting board and knead a few times to make sure it is evenly blended.
Form the dough into a log about 14 inches long and 1 3/4 inches in diameter. Wrap the log in wax paper or foil and refrigerate until firm, at least one hour, or until needed.
Position the racks in the upper and lower thirds of the oven and preheat the oven to 350°F. Line the baking sheets with parchment paper. Cut the log of dough into slices a scant 1/4-inch thick, on a slight bias if you choose, and place them one inch apart on the lined sheets (cookies will spread just a little). Bake, rotating the baking sheet from top to bottom and back to front about halfway through baking, for a total of 12 to 15 minutes. The cookies will puff up and deflate; they are done about 1 1/2 minutes after they deflate.
Cool the cookies on the baking sheets on racks, or slide the parchment onto racks to cool completely. These cookies may be stored in an airtight container for up to two weeks or be frozen for up to two months.
Note: These cookies should crisp as they cool. If they don’t, you’re not baking them long enough, says Medrich — in which case, return them to the oven to reheat and bake a little longer, then cool again.


October 30, 2013 at 12:09 am
I love the recipe but are you using vegan butter?
October 30, 2013 at 5:50 am
Yes absolutely vegan butter; thanks for catching that when I wrote the adapted recipe, I changed the milk to soymilk, but not the unsalted butter to vegan butter. Enjoy dairy free!