 Yield: 4 servings
1 tablespoon olive oil
1 medium yellow onion, cut into small-medium dice
3-4 large cloves garlic, peeled and thinly sliced
Coarse sea or kosher salt to taste
Freshly ground black pepper to taste
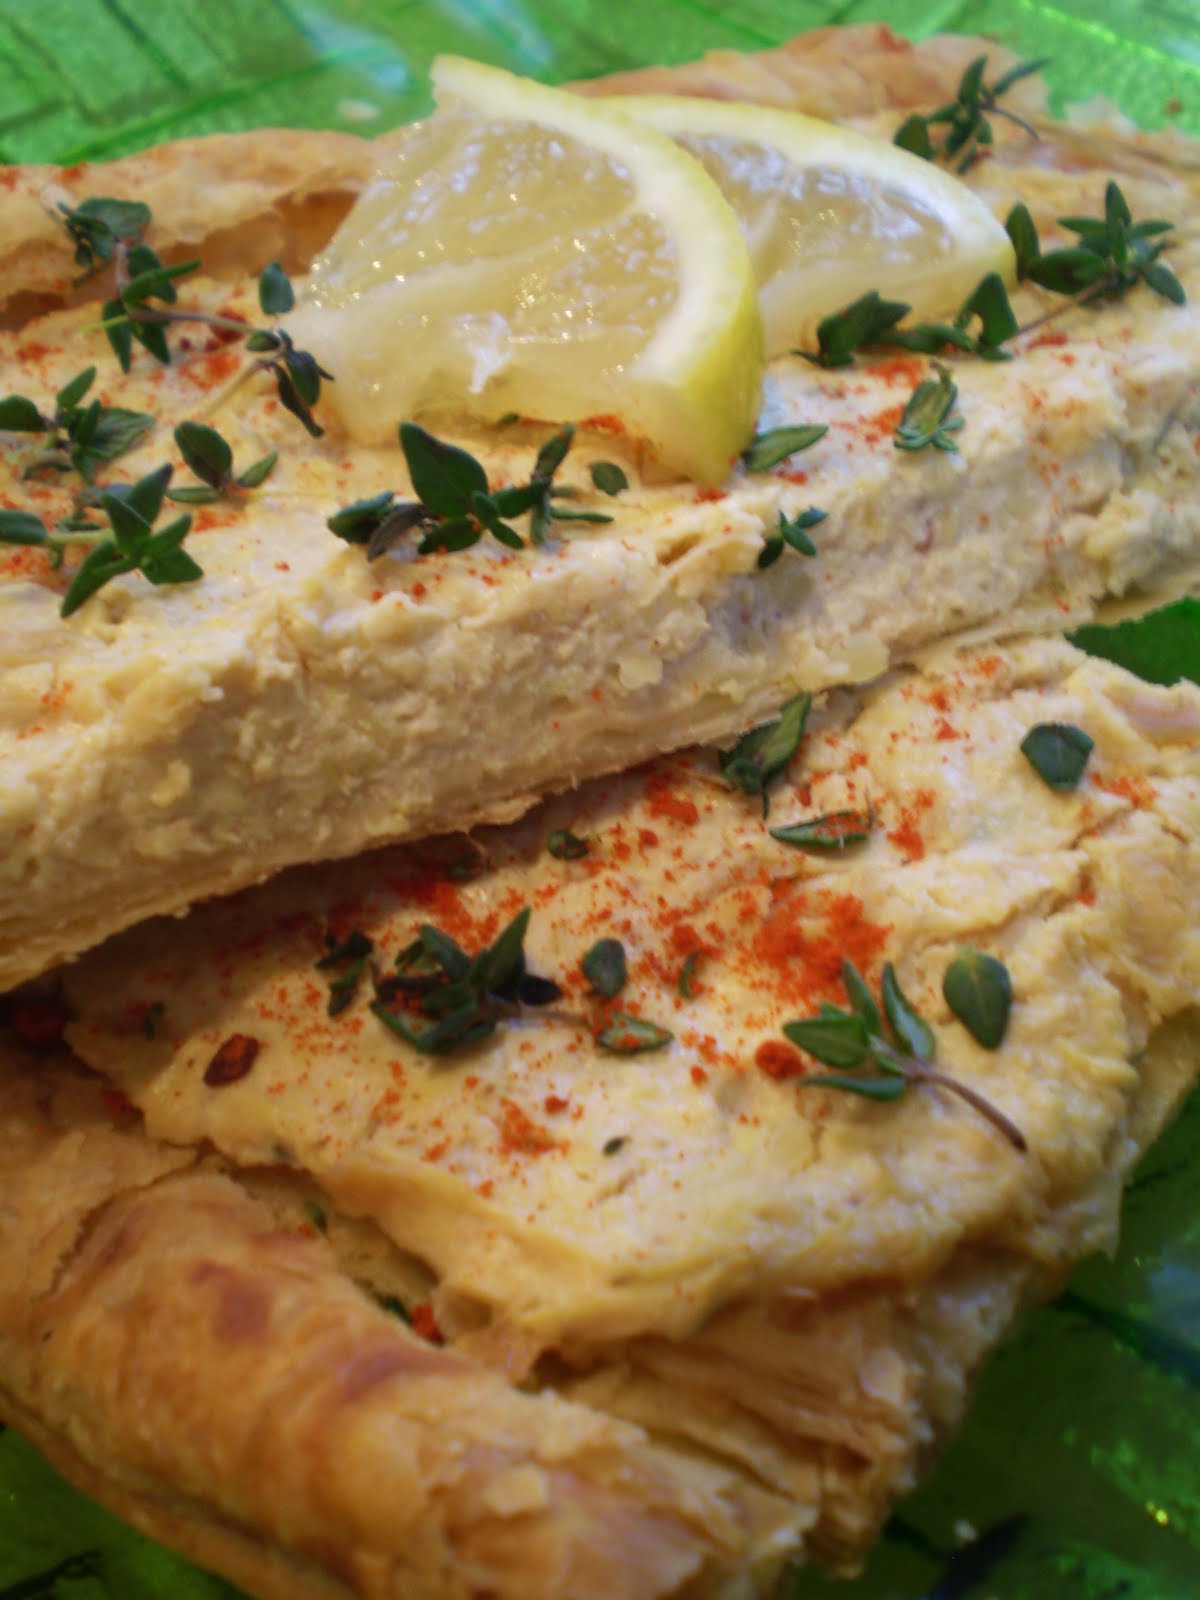
1 box Silken firm tofu
juice of one-half to a whole small-medium lemon (start with one-half)
1 can artichoke hearts, drained (or 8 frozen-thawed or fresh artichoke hearts)
1/2-1 teaspoon fresh thyme leaves to taste
pinch paprika or more to taste
Garnish: lemon zest, fresh thyme sprigs, lemon wedges or slices and/or a sprinkling of paprika
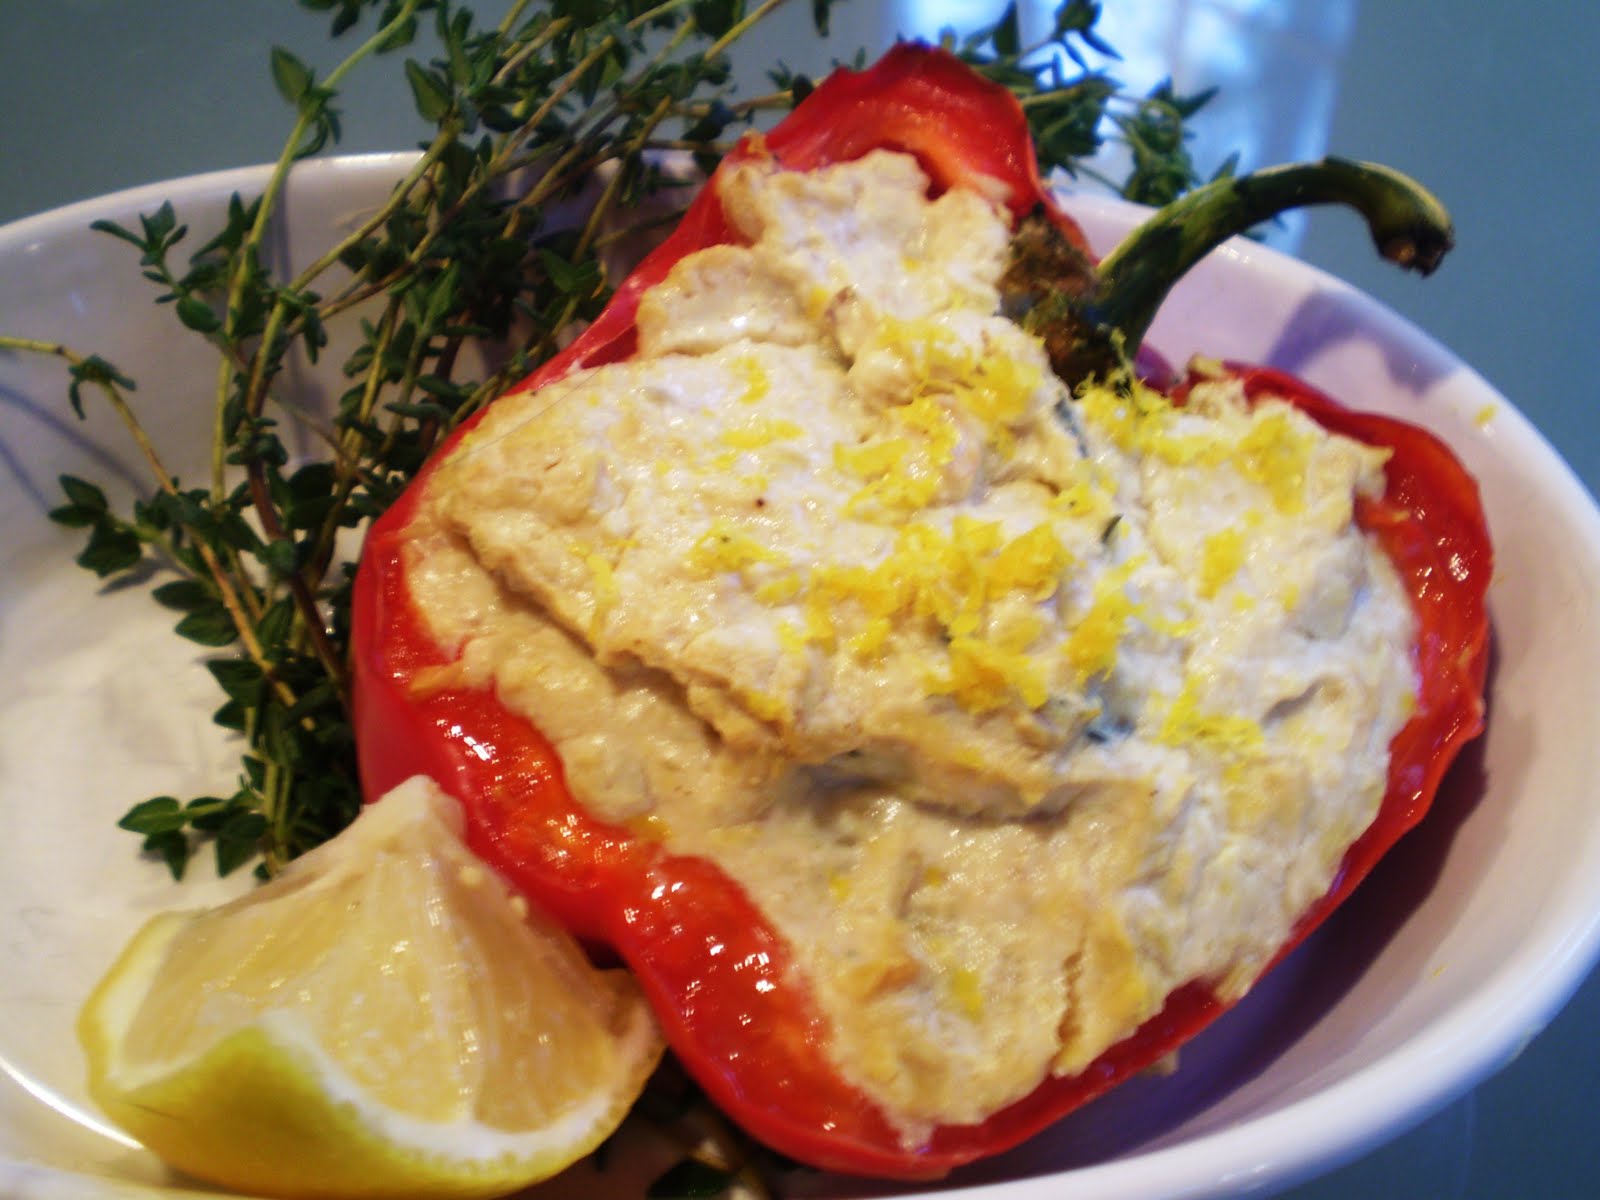
Preheat oven to 350 degrees. Oil a small baking dish or 4 small au gratin dishes. In a large cast iron skillet over medium-high, heat olive oil to shimmering. Add onion and saute, stirring frequently, until softened. Add garlic and a pinch of salt and pepper and continue sauteing and stirring until mixture is golden brown. I like to add just a little water to speed up the process and remove caramelized bits from the bottom of the pan. Place tofu in bowl of food processor fitted with a metal blade and process with lemon juice and nutritional yeast until smooth. Add remaining filling ingredients and pulse until artichokes are chopped and all ingredients are well combined. Taste and adjust seasoning if necessary. Fill each pepper half with one-fourth of filling. Bake for 20 minutes or until filling is hot through and fairly set. Remove from oven and insert stem into filling near where it naturally grew. (I don’t leave them on during baking lest they burn.) Sprinkle each with lemon zest and serve immediately with fresh thyme sprigs, lemon wedges or slices, and/or a sprinkling of paprika.